Replacing PCS Arbor Belt & Motor Belt
Service Procedure SP-PCS-190703-02
Tools & Supplies Recommended for This Procedure:
- 19mm combination or socket wrench
- 5mm Allen wrench
- Soft-faced hammer or mallet and 6” block of wood to set double pulley idler shaft and set motor belt tension
Procedure Steps:
- Remove the Double Pulley and Belts
- Install and Adjust the Double Pulley and Belts
Before starting:
- Please read instructions all the way through to ensure complete understanding.
- For safety, disconnect all electrical power to the saw.
Note: throughout this document the terms “right” and “left” are from the point of view of a person facing the front of the saw cabinet.
Remove the Double Pulley and Belts
- Start by removing tension on the belts
- For the motor belt; using a 19mm combination wrench or socket, loosen both bolts on the motor bracket and slide the motor upward as far as it will go. (Best access is through the motor cover rather than from the top.) Tighten the upper bolt to leave the motor in this position until it is time to re-tension the belt later on.
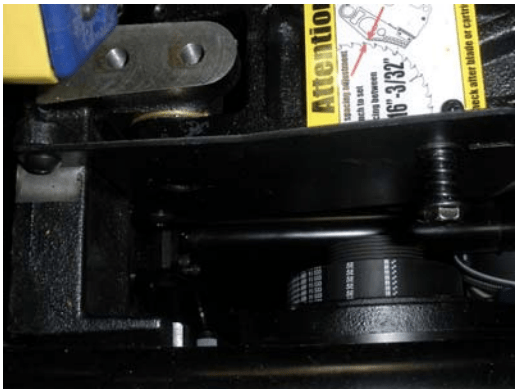
- For the arbor belt, tension can be removed by breaking the arbor loose from its locked position. With elevation mechanism at the top of its travel (crank the elevation handwheel all the way up and remove the saw blade) push down on the arbor casting with enough force to cause it to break loose and swing down to the bottom of its travel.
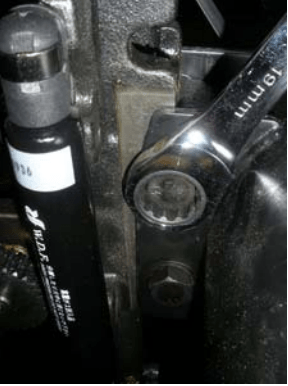
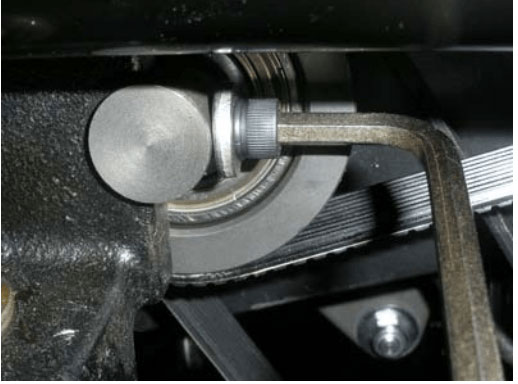
- Using a 5mm Allen wrench, loosen and remove the M6 socket cap screw and related washers that hold the double pulley shaft in position. The shaft will tilt to the right; remove the arbor belt and put it aside. Leave the motor belt in place.
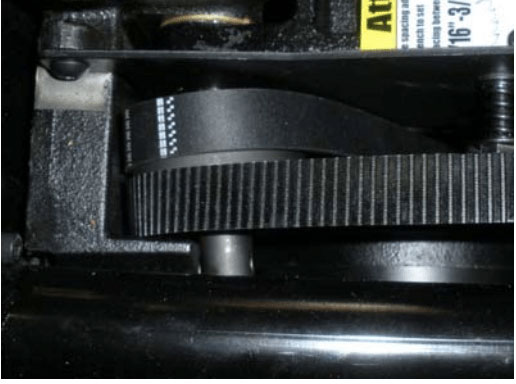
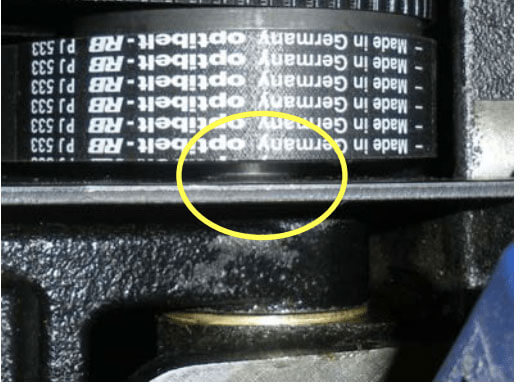
- Hang the new arbor belt on the outer pulleys, making sure the belt is properly aligned on its tracks.
Install and Adjust the Double Pulley and Belts
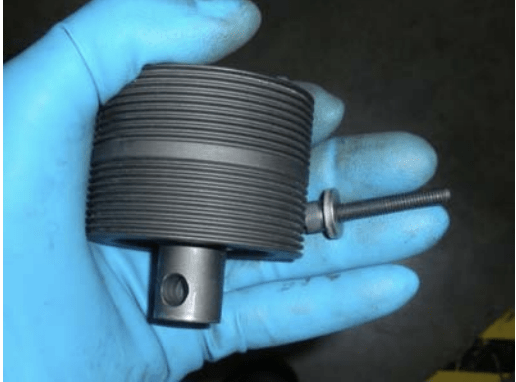
- The double pulley is a bit more work to reinstall than to remove. If didn’t remove it earlier, skip to step 6. If you did remove it, make sure you have the double pulley and the associated cap screw and washer ready to hand.
- The easiest method is to get both belts loosely onto the tracks of the double pulley, then insert the short end stub of the idler shaft into the hole in the retraction plate; the assembled pieces at this point are at a slight angle.
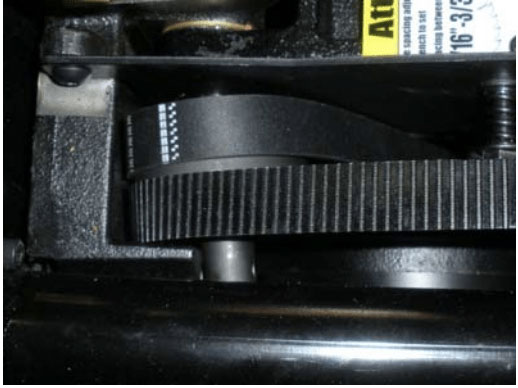
- Now insert the cap screw into its threads and screw it in far enough to hold the assembly together, but don’t take up the slack in the arbor belt yet.
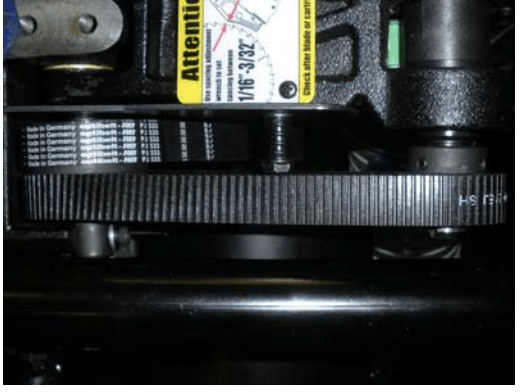
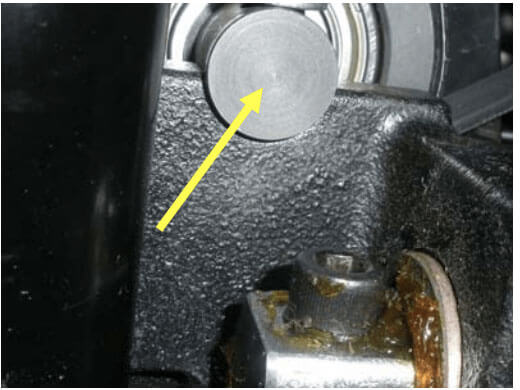
- Once you have the assembly holding loosely together, you can make sure that both the motor belt and the arbor belt are correctly aligned with the tracks in their respective pulleys. Once you have the belts aligned, make sure the hole in the idler shaft is facing correctly, and tighten the cap screw most of the way, until the shaft is lined up perpendicular to the retraction plate. Tap the end of the shaft with a block of wood and a mallet to set the end of the shaft fully into the hole in the retraction bracket.
- Finish tightening the cap screw. Once the shaft is properly seated against its bracket, the arbor belt will be properly tensioned when the arbor is reset in its retention slot.
- The motor belt tension can be easily set by wedging a block (e.g. the one you used to set the idler pulley) between the motor bracket and the upper torque tube.
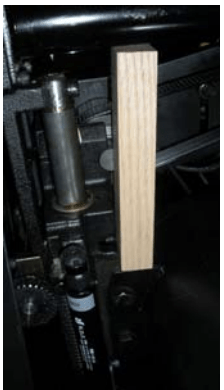
- Loosen the motor bracket bolts you tightened in step 1 above. Use the elevation handwheel to lower the assembly enough to fit the block, and then raise the assembly to put tension on the belt. Tension is properly set when the belt gives out a note when plucked, as opposed to a dull thud sound. Tighten the motor bracket bolts, lower the assembly and remove the block.
Questions?
Contact the SawStop Customer Support Center with any questions or suggestions:
Call: (503) 582-9934
Email: [email protected]