How to Build a Crosscut Sled for a Table Saw
Step-By-Step Crosscut Sled Plans
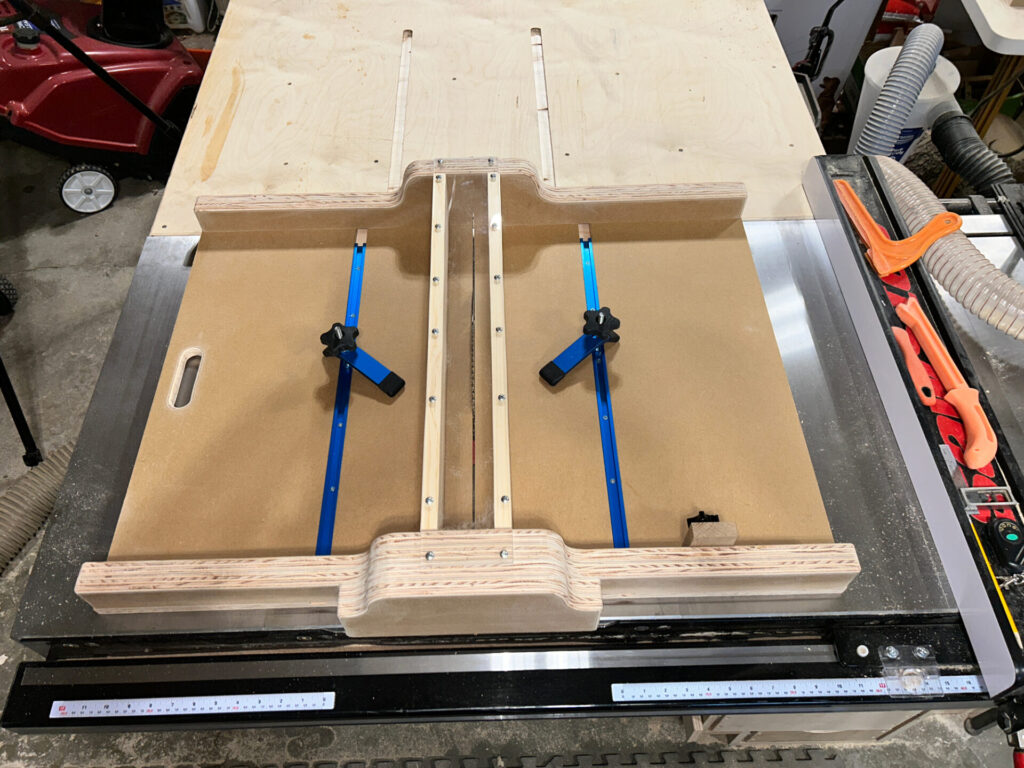
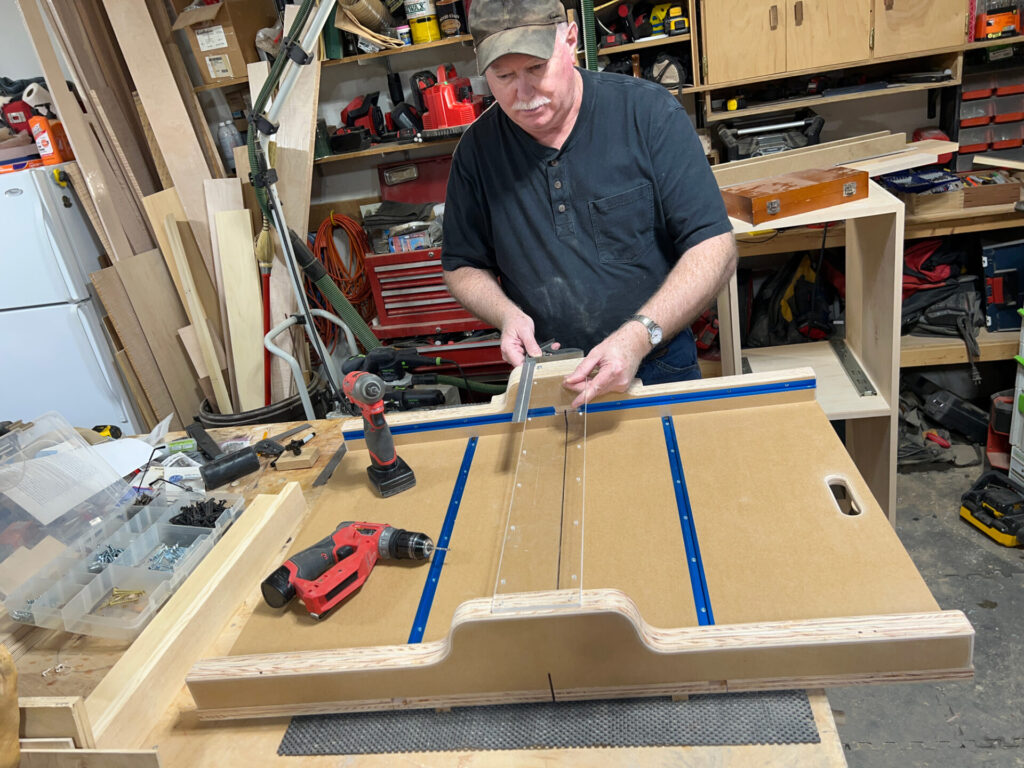
One of the most helpful shop projects you can make is a DIY crosscut sled for your table saw. This sled allows you to crosscut wider workpieces than you typically can with a miter gauge. Plus, the hold-downs provide the ability to clamp workpieces in place, keeping your hands away from the blade. The clear acrylic shield serves as a blade guard to further keep your hands safe.
NOTE: This sled is made to fit a SawStop Professional Cabinet Saw (PCS) with a 27”-deep top (front to back). Adapt dimensions to fit your saw as needed.
Materials List:
- Half-sheet (4’x4’) of ¾” Baltic-birch plywood, MDF, or MDO (we used MDO)
- 2 @ 24” aluminum T-track (#4 x 1/2” screws might not be included)
- 1 @ 36” aluminum T-track (#4 x 1” screws)
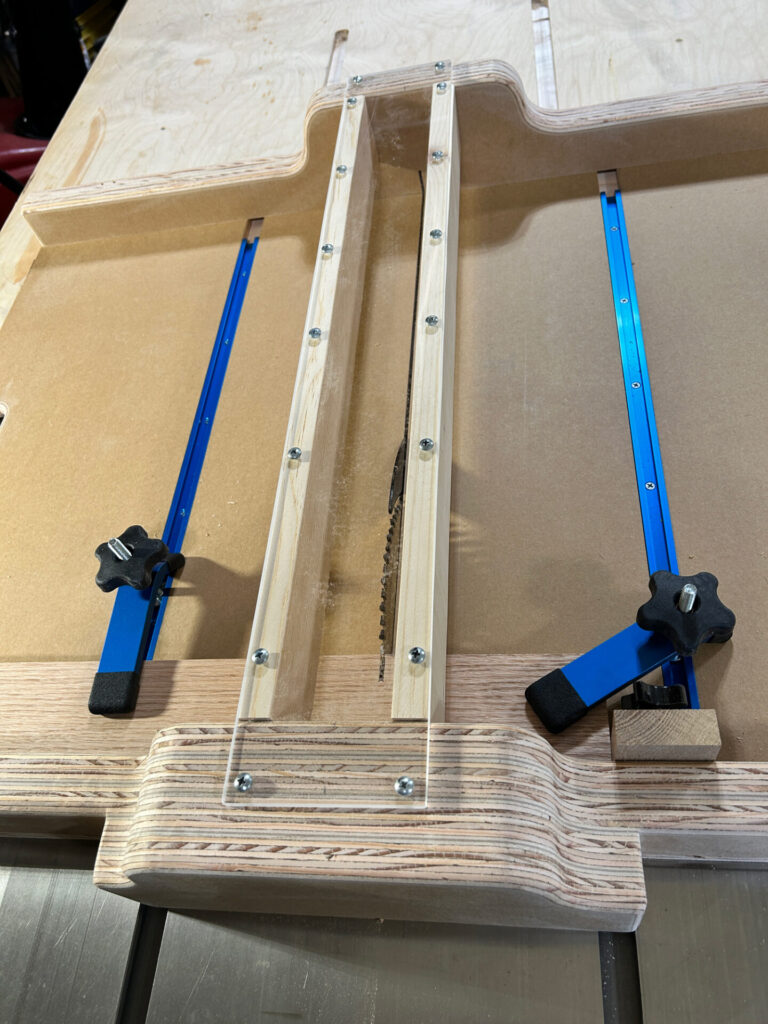
- 2 @ 5-1/2” hold-downs with T-bolts and star knobs (or anything similar)
- 1 @ 1-1/2” T-bolt with star knob
- 12 @ #8 x 2-1/2” wood screws
- 12 @ #8 x 3/4″ round-head or pan-head screws
Step by step:
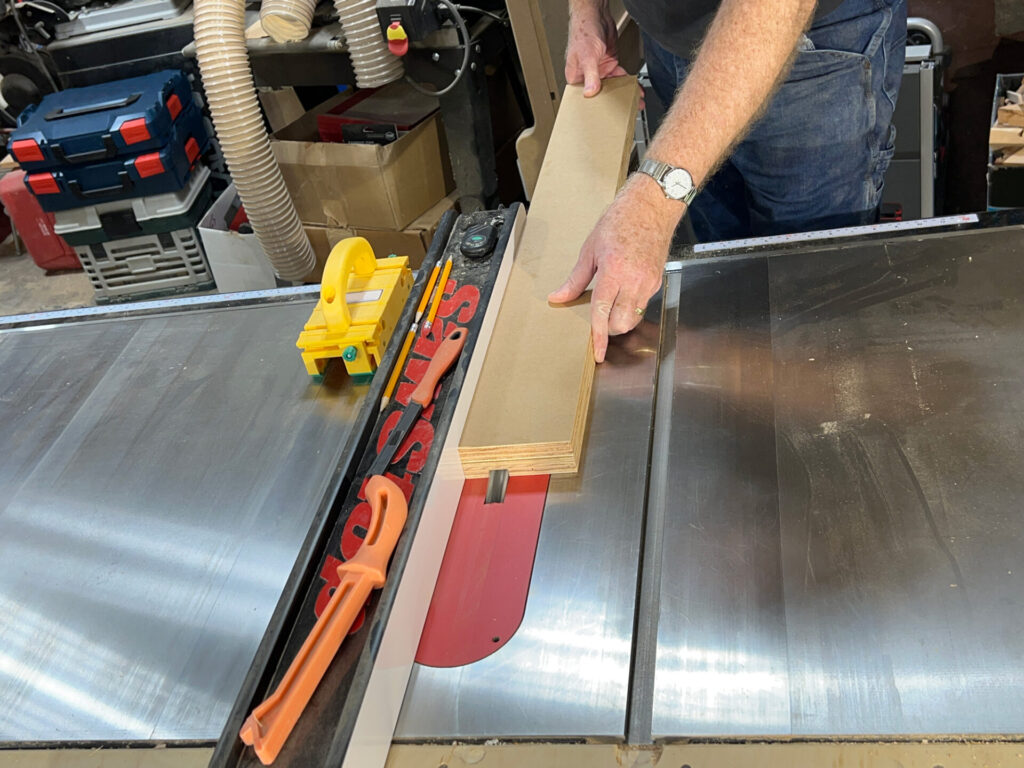
- Cut the base to size (36” x 27”).
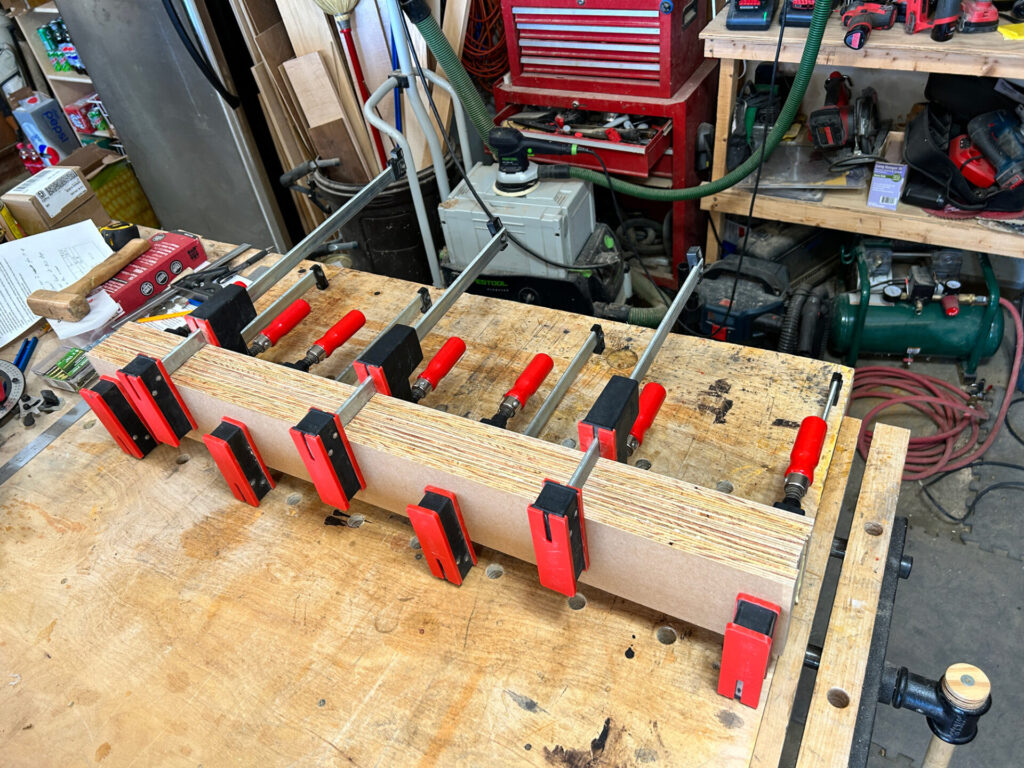
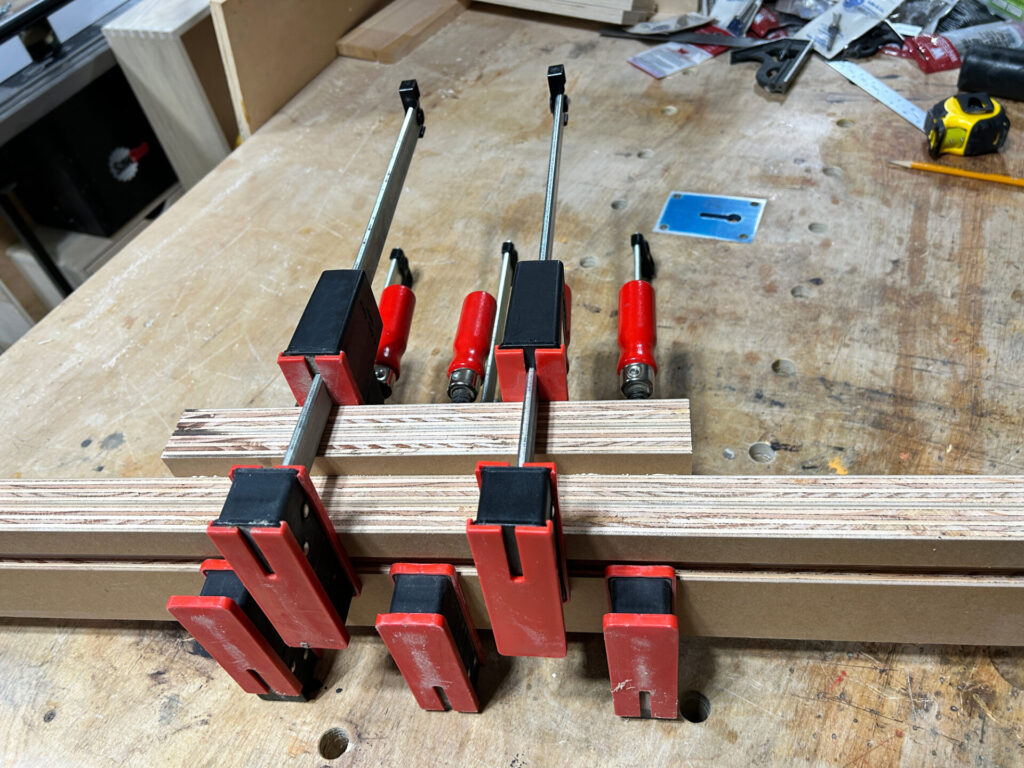
2. Rip four pieces to 4-1/2” wide for the fences; crosscut them to 36”. Rip two pieces 5-1/4” wide; crosscut to 12”. Laminate the long pieces in two sets of two, and laminate the short pieces. Allow the glue to dry.
3. Cut two hard maple runners to size (11/32” x 3/4” x 29”) until they fit in the miter slots without side-to-side wiggle yet still slide smoothly. White oak can also be used, but avoid softer woods that can easily deform.
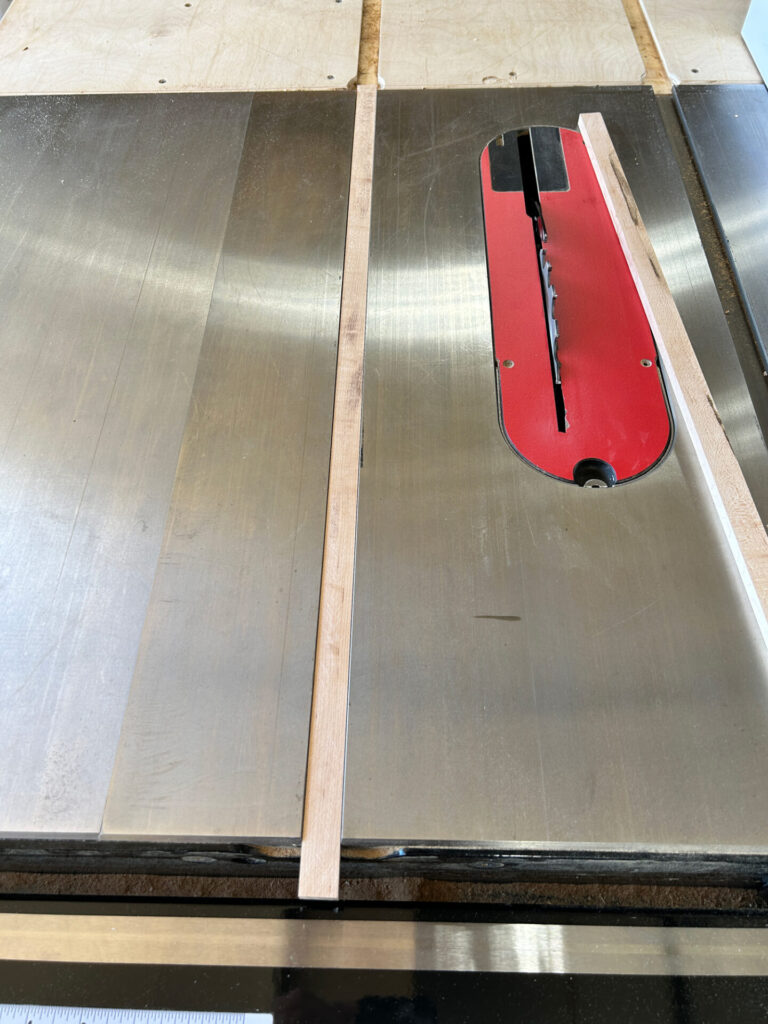
4. Lay out the locations on the base for the blade (centered) and miter slots; with the base centered on the blade, lock the rip fence in place at the right end of the base.
5. Place four dimes in each miter slot, spaced equally along the length. Apply double-faced masking tape (or instant glue) to the top of the runners and place the runners on the dimes in the slots, flush with the far edge of the table (overhang near you). With the base resting against the rip fence, lower it onto the runners and press down firmly for good adhesion. Lift the base and turn upside down, then trim away any excess tape. Replace in the miter slots and check for smoothness of glide back and forth.
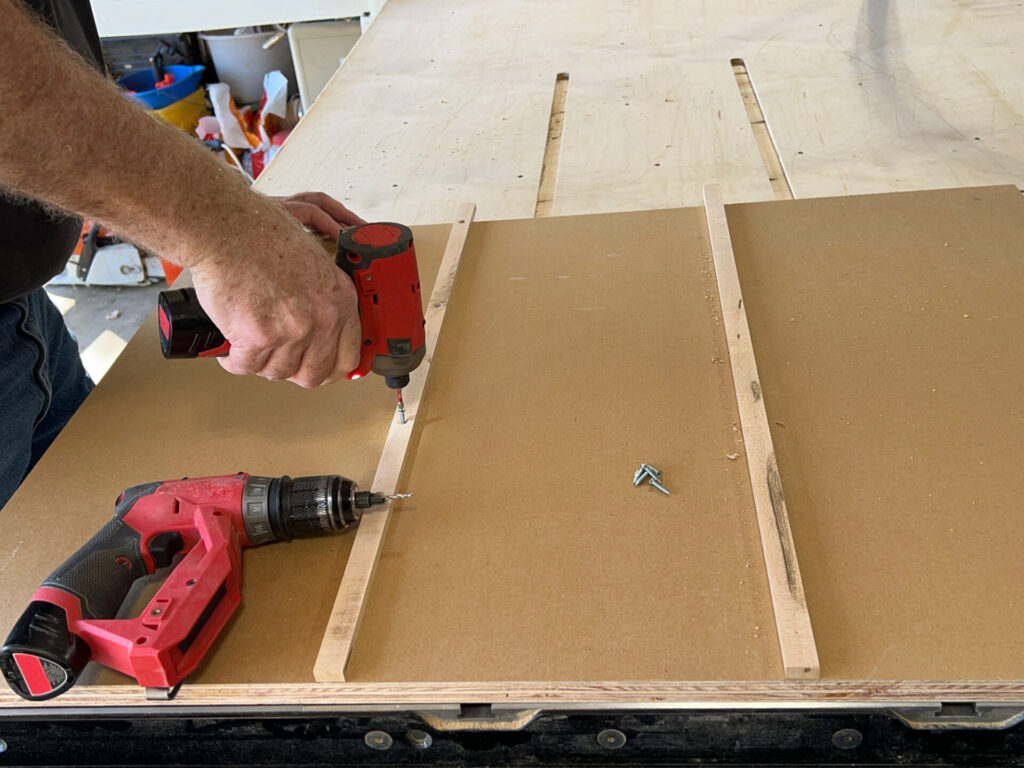
6. Secure each runner to the base with four #6 x 3/4” flathead screws countersunk into the runners. Trim the runners with a shoulder plane or rabbeting block plane, if needed, to improve the glide.
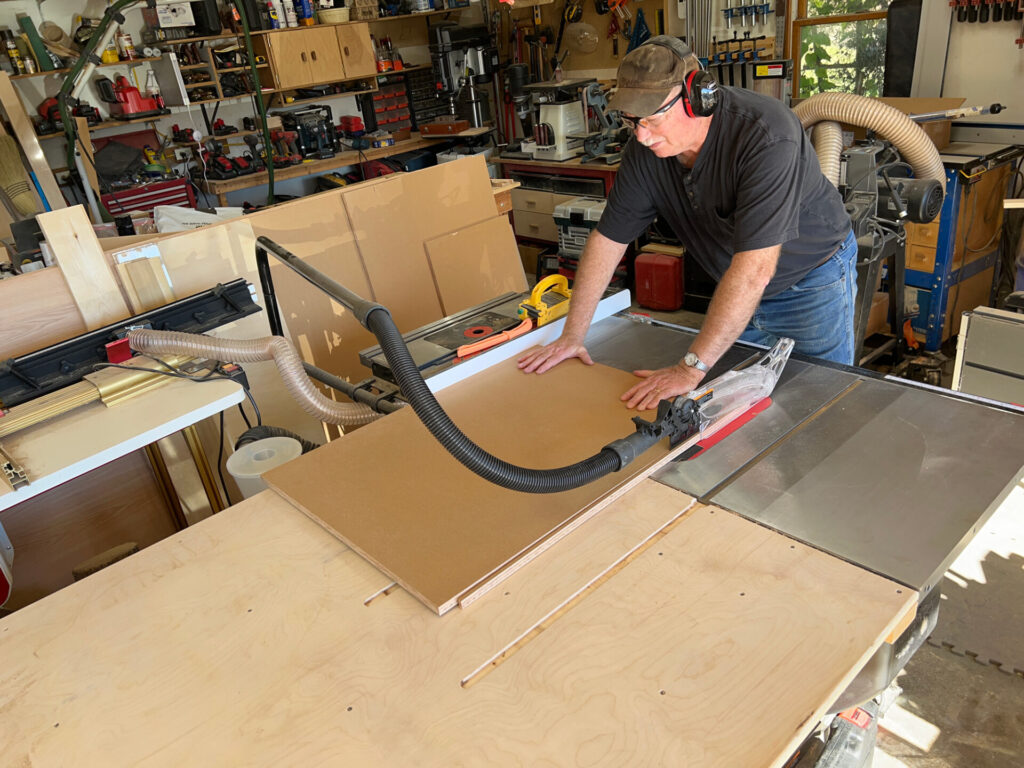
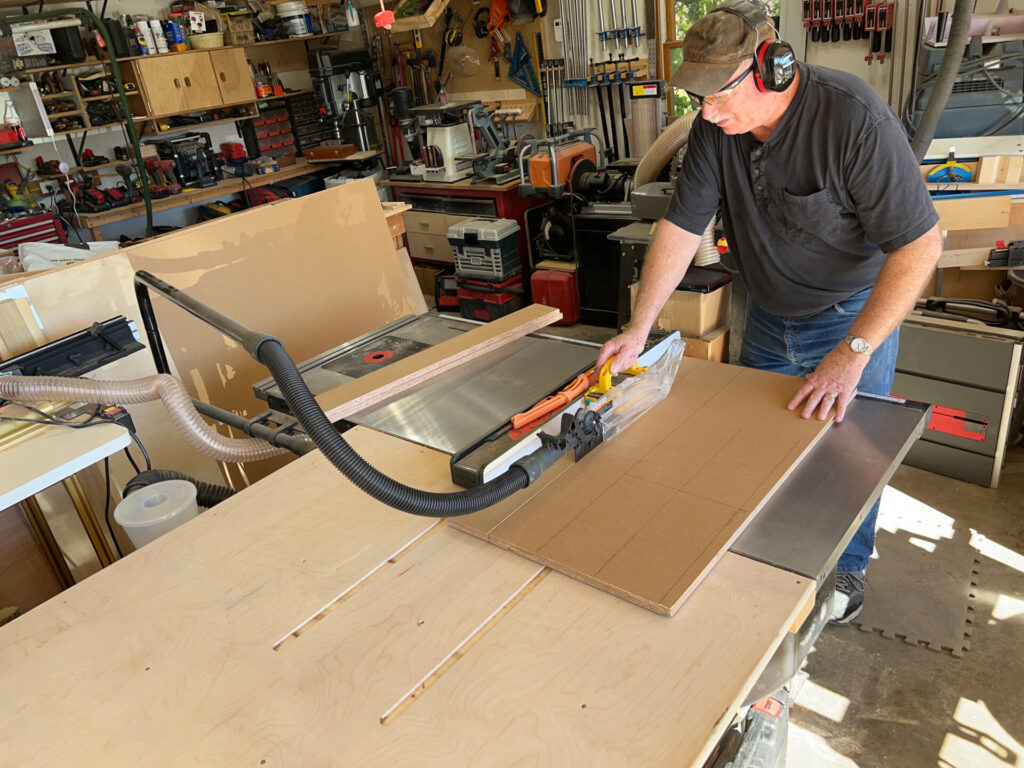
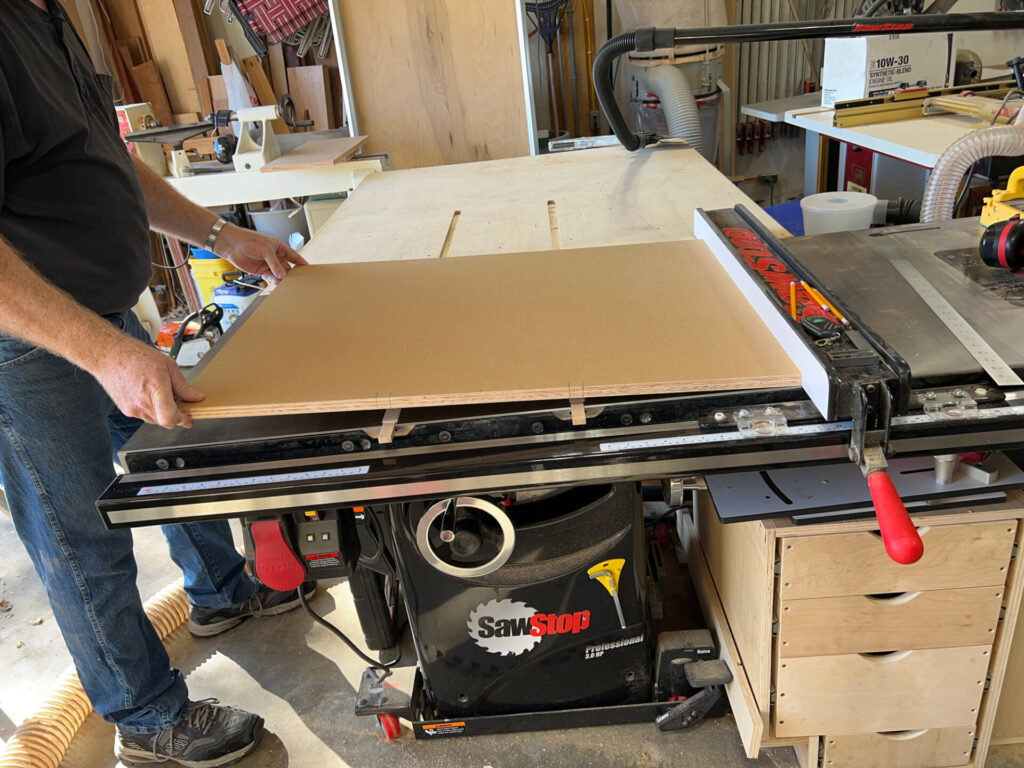
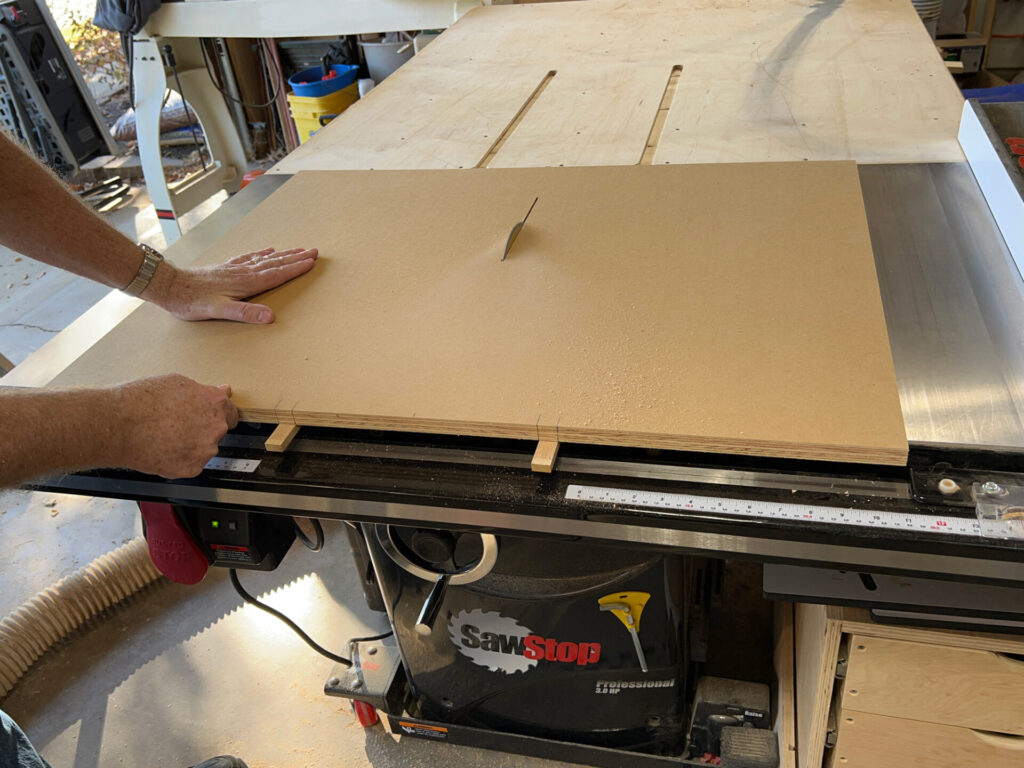
7. With the blade fully lowered, position the base on the tabletop aligned with the front and back edges. Hold the base securely to the tabletop, adding weight if needed; turn the saw on and raise the blade up through the base until about 1” shows. Slide the base forward until about 6” remains uncut. DO NOT CUT FULLY THROUGH EITHER THE FRONT OR BACK EDGES. Turn the saw off and lower the blade.
8. Trim the laminated fence blanks flush, if needed.
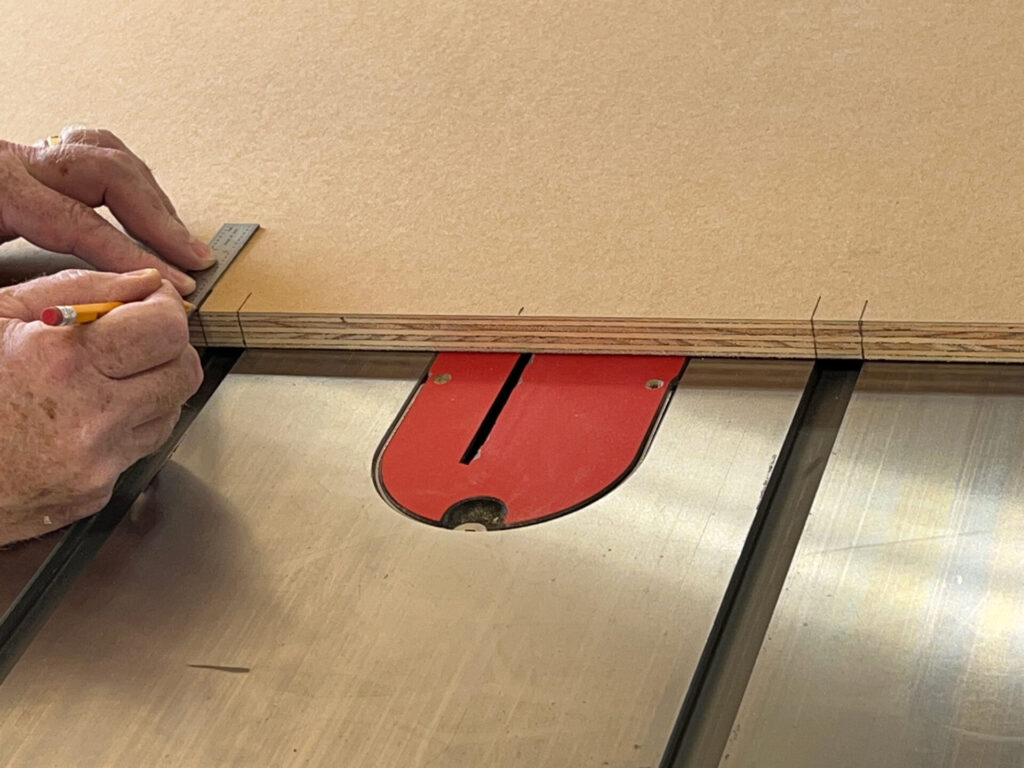
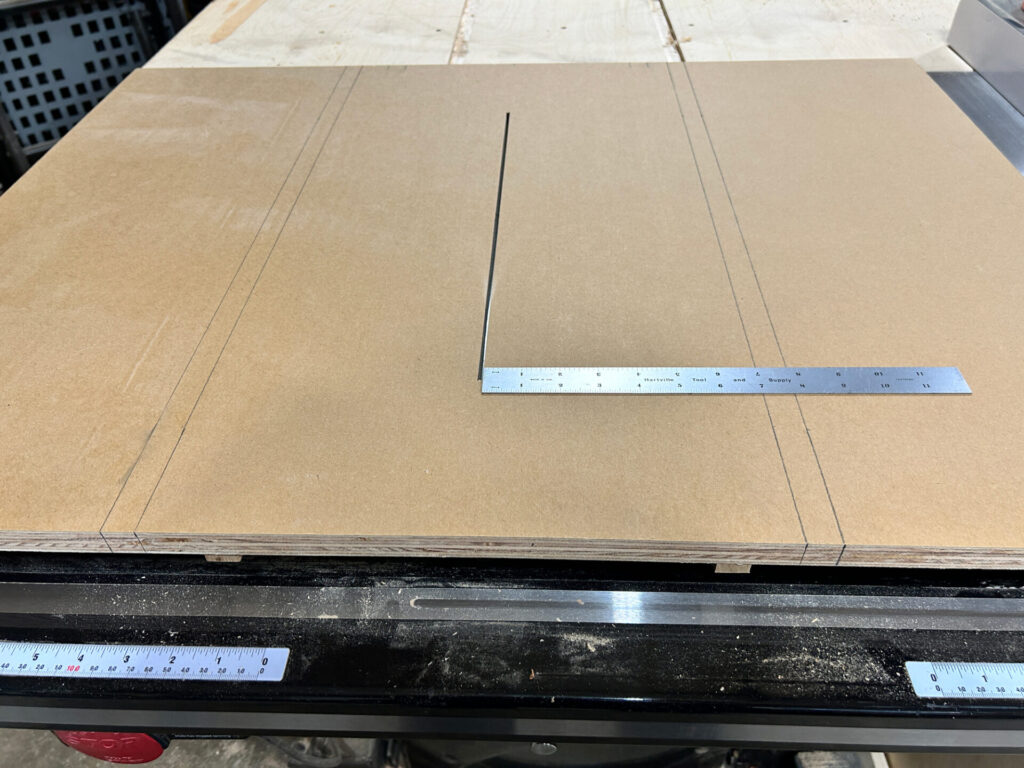
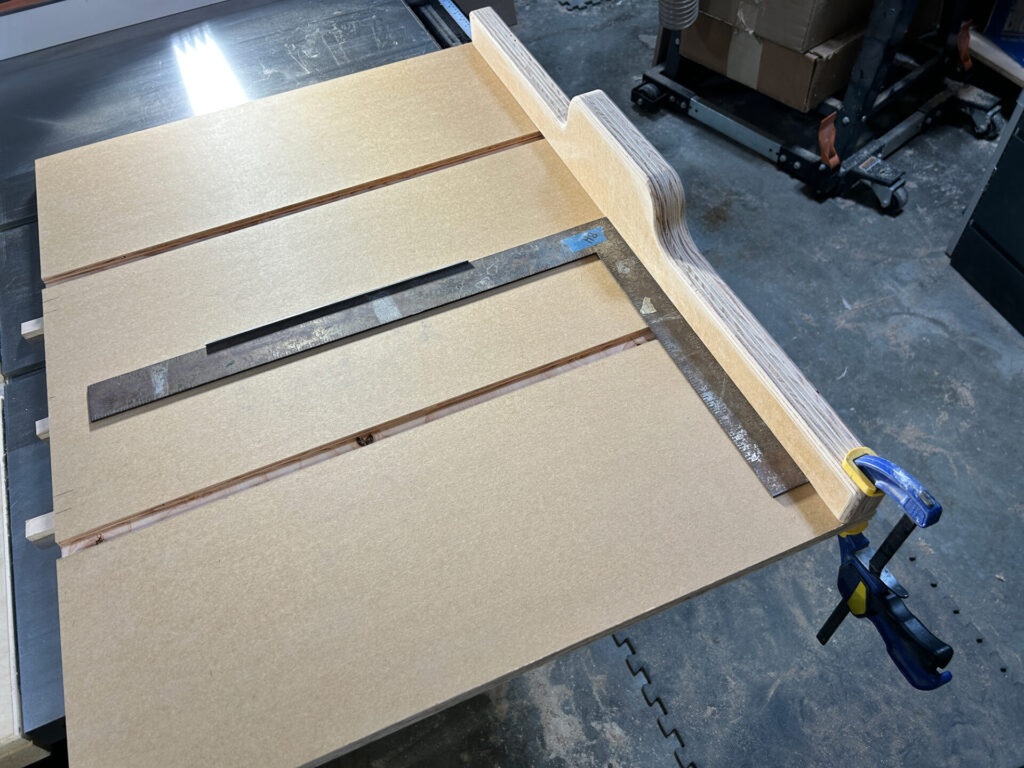
9. Lay out locations on the base’s top face for the T-track grooves. In this case, the inner edge of each slot is 7” from the blade kerf.
10. Install a 3/4” stacked-dado set in the saw and set the height to cut a channel that allows the T-track to fit perfectly flush. Make test cuts in scrap stock until you get the setup perfect. Then cut the grooves in the base.
11. Cut a similar groove in the rear fence (the one near you as you operate the saw) 1” from the bottom edge for the stop block T-track. Glue the laminated short fence blank to the back of the rear fence, centered along its length and flush along the top edge.
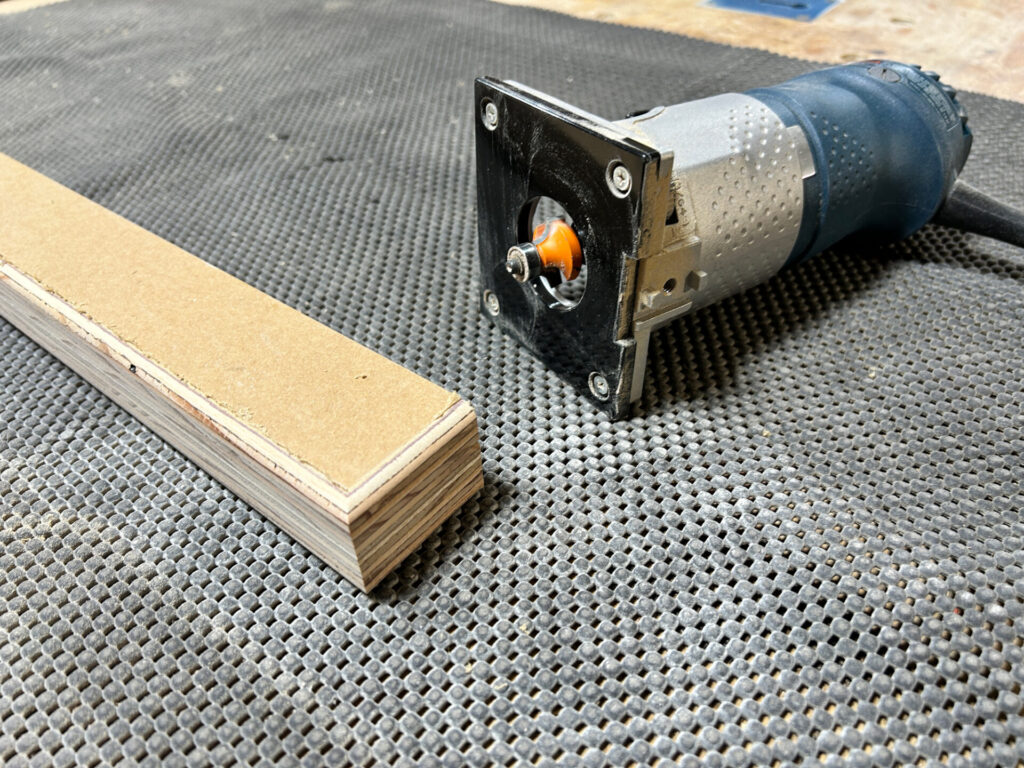
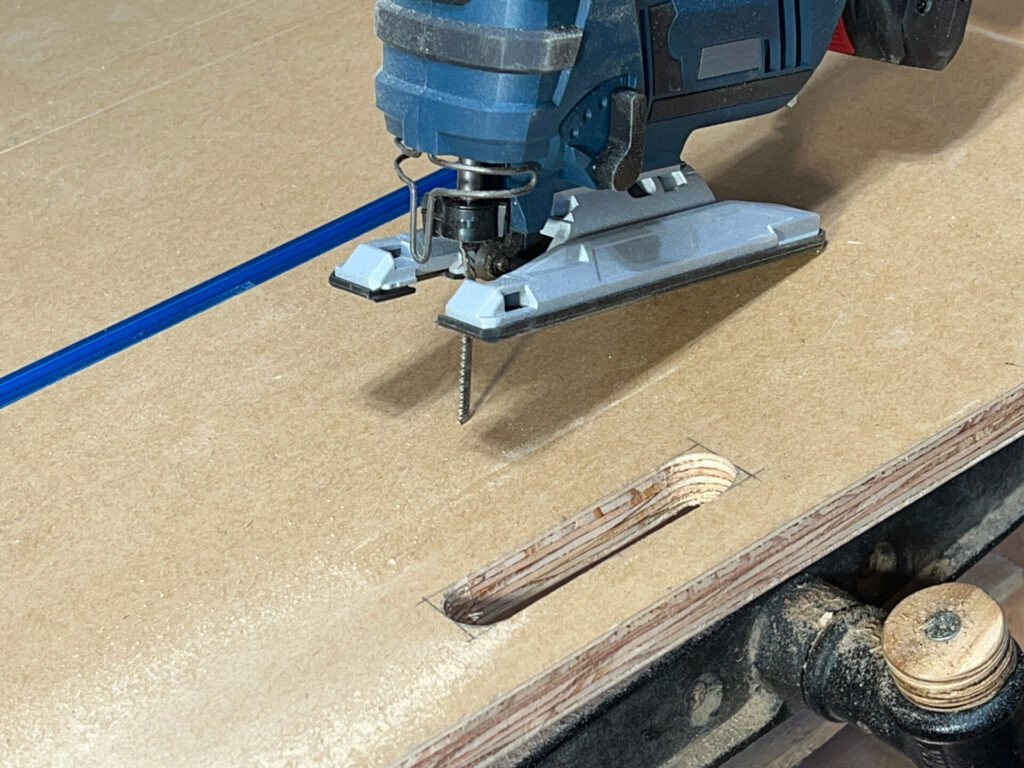
12. Lay out the center “arch” on each fence blank and bandsaw or jigsaw to shape. (Shaping in this way removes unnecessary material to lighten the overall weight of the sled.) Smooth the cuts at the spindle sander, with a handheld sander, or hand tools. When satisfied, rout a 1/4″ round-over along the top edges and ends, but not the bottom edges.

13. Cut the T-track into two pieces 17-1/4” long. (NOTE: If you cut these aluminum pieces on your SawStop table saw, first bypass the safety system.) Install these in the fence groove, flush at the ends. (This leaves a necessary gap on each side of the blade to avoid accidental brake activations.)
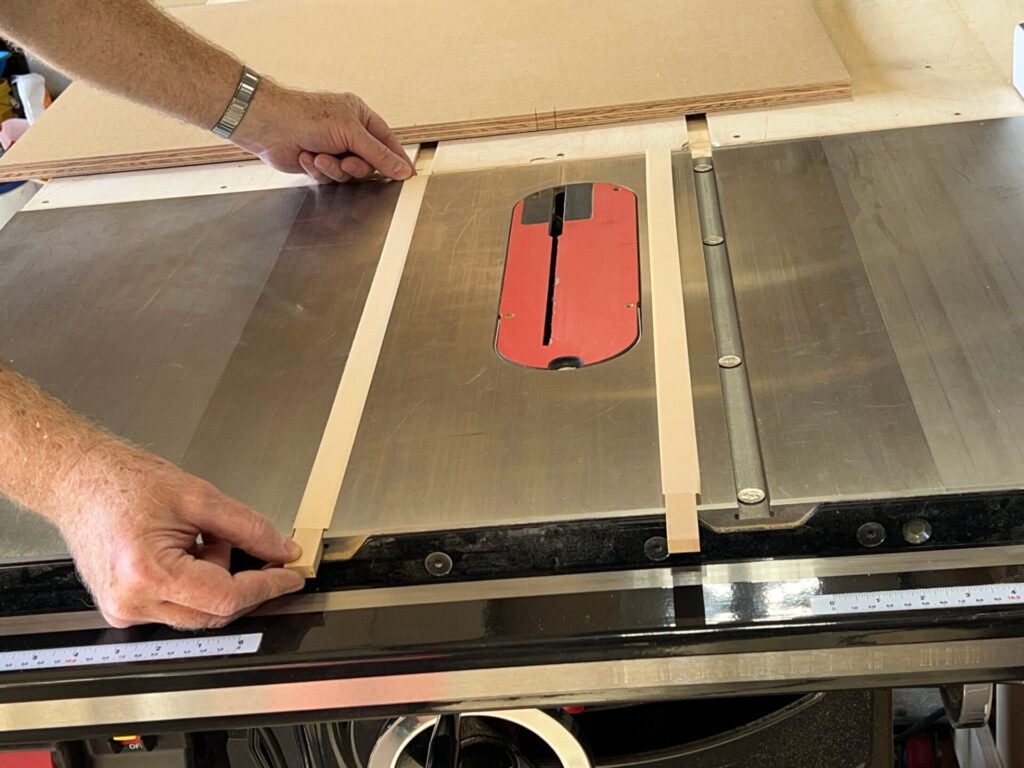
14. Mount the front fence to the base by installing one screw at one end. Align the fence square to the saw kerf, and add another screw on the opposite end. Don’t add any more screws for now.
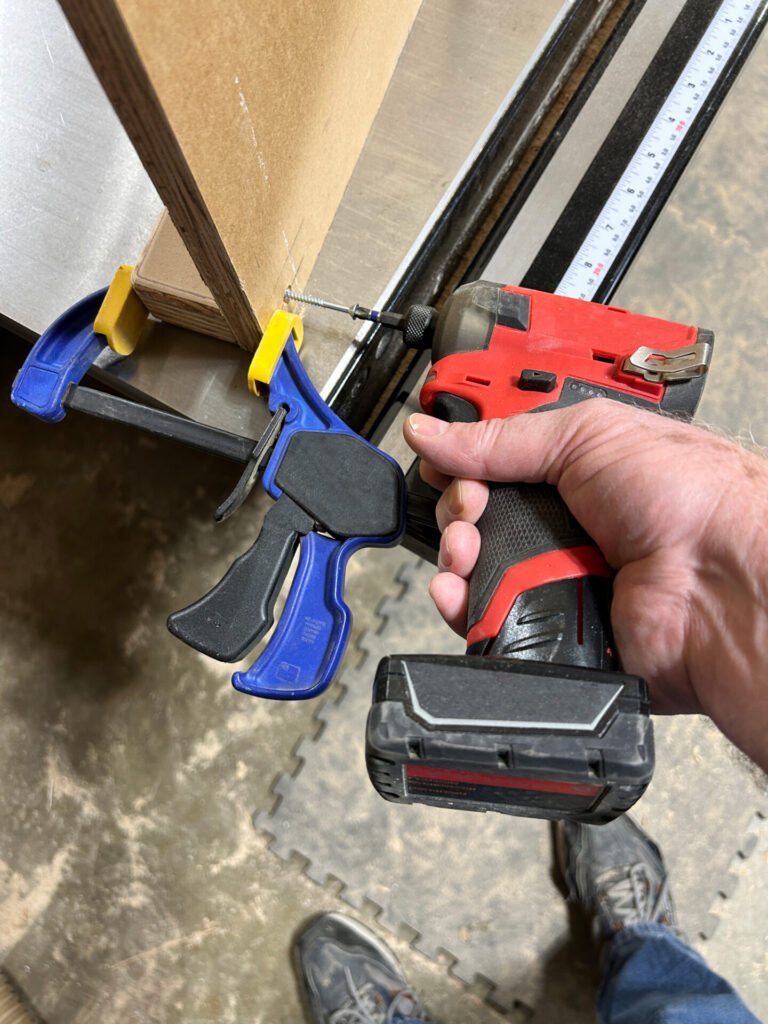
15. Repeat for the rear fence, attach one corner with a screw, align to the saw kerf/blade, and secure with another screw.
16. Make a test cut and check for accuracy. If not perfectly 90°, remove the second screw for that fence and recalibrate.
17. Once both fences are perfectly square to the kerf/blade, add four more screws to each fence (no glue).
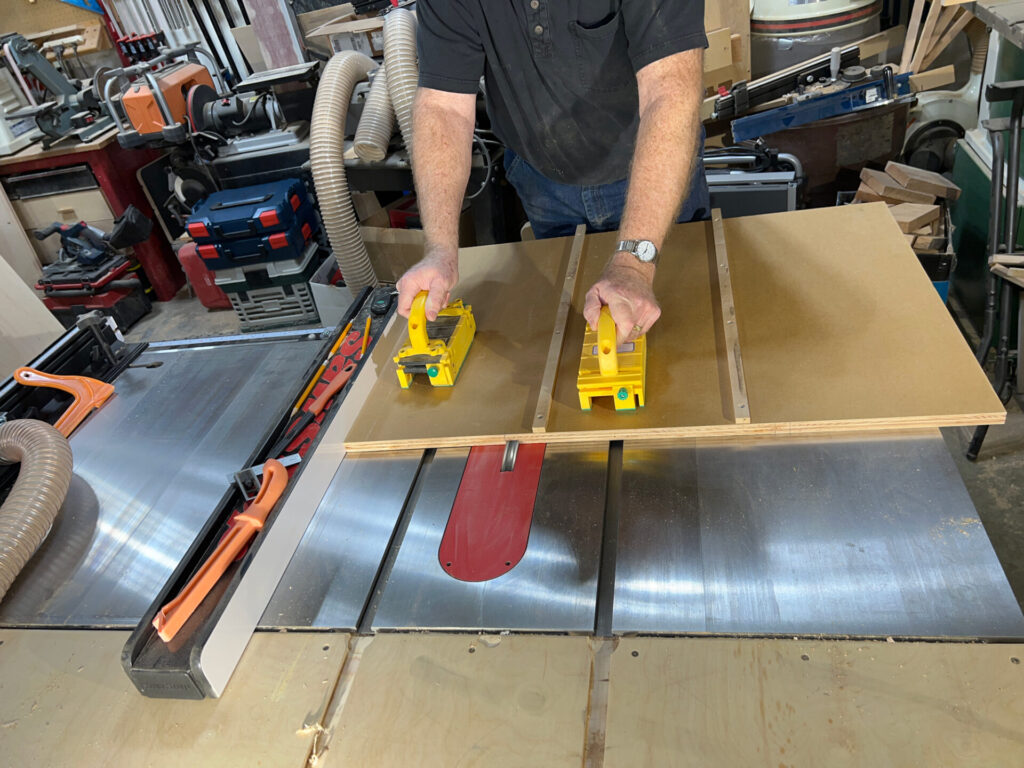
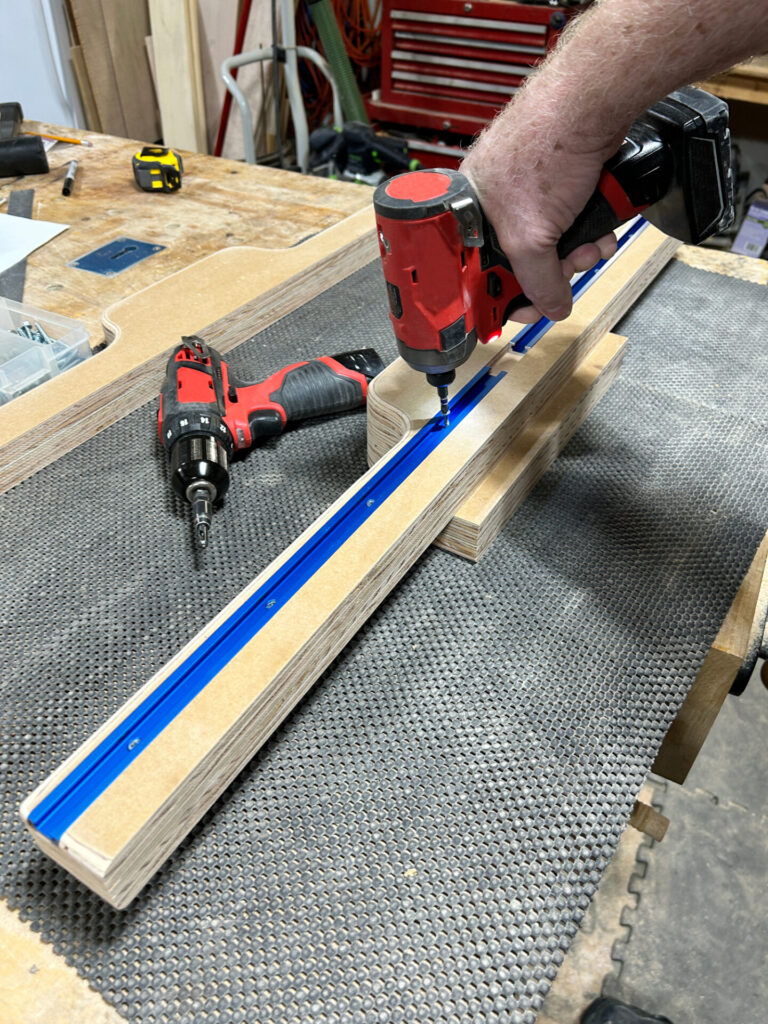
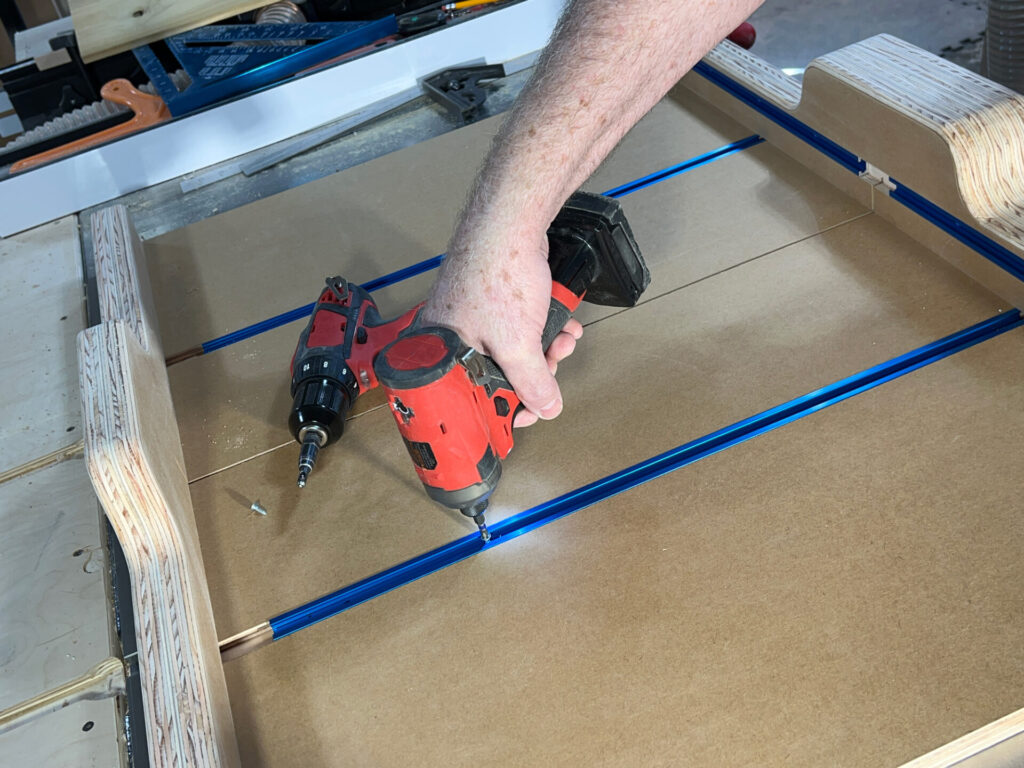
18. Cut and install the T-tracks in each slot in the base, making sure to start the track 1-1/4” back from the front fence’s inner face. This void allows you to remove and insert the hold-down T-bolt on each track.
19. Cut a 2”x3” hardwood block for a stop block, drill a hole for the T-bolt centered on the T-track. The stop block must rest squarely on the base when tightened in the track to be perpendicular.

20. If you want, cut a 1”x4” oval at one end to provide a handle and a way to hang the sled on a wall hook. Round over the top and bottom edges of this oval.
21. Sand any rough spots to ensure smooth sliding and comfortable grip.
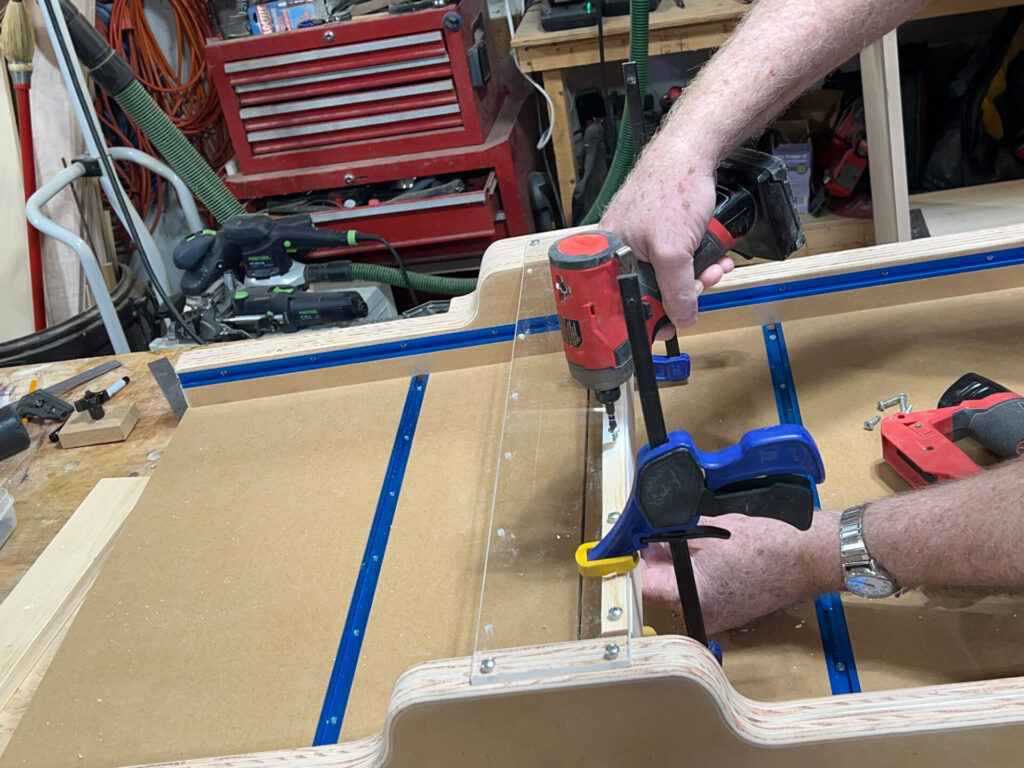
22. Create the blade guard by cutting a piece of ¼”-thick acrylic 4” wide and 27” long. Cut two side rails from ¾”-thick wood or plywood 2-1/2” wide and 24” long. Lay out holes on the acrylic for the screws to mount it to the sled and the side rails; drill pilot holes for each. Remove the plastic covering from the acrylic and sand away the rough or sharp edges and corners. Screw the guard assembly to the sled, centered side-to-side on the blade kerf and squared to the fence. Then screw the side rails to the acrylic.
23. Apply paste wax or paraffin wax to the runners occasionally to ensure a smooth, easy glide in the miter slots.