Stories
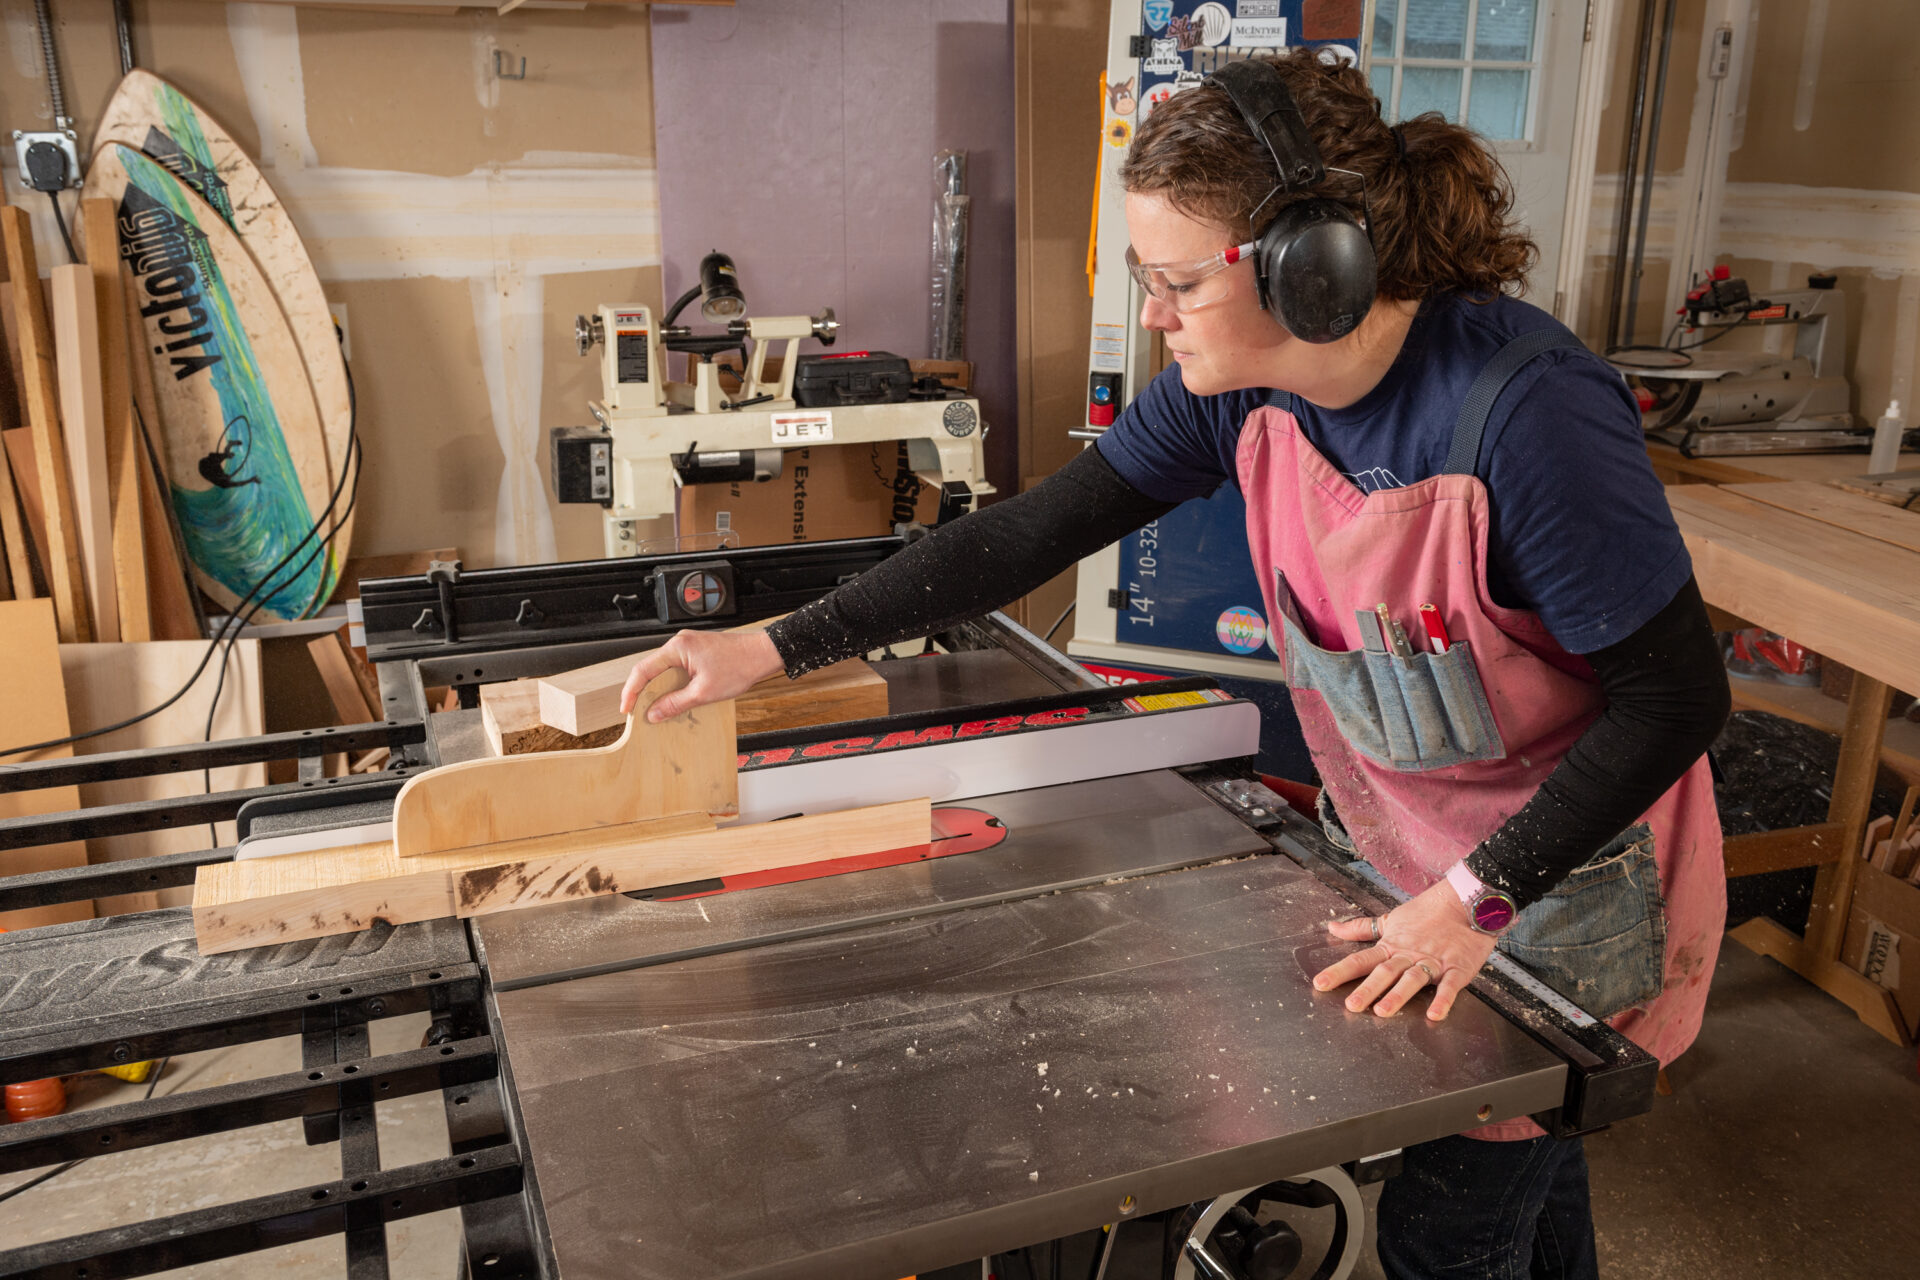
Stories
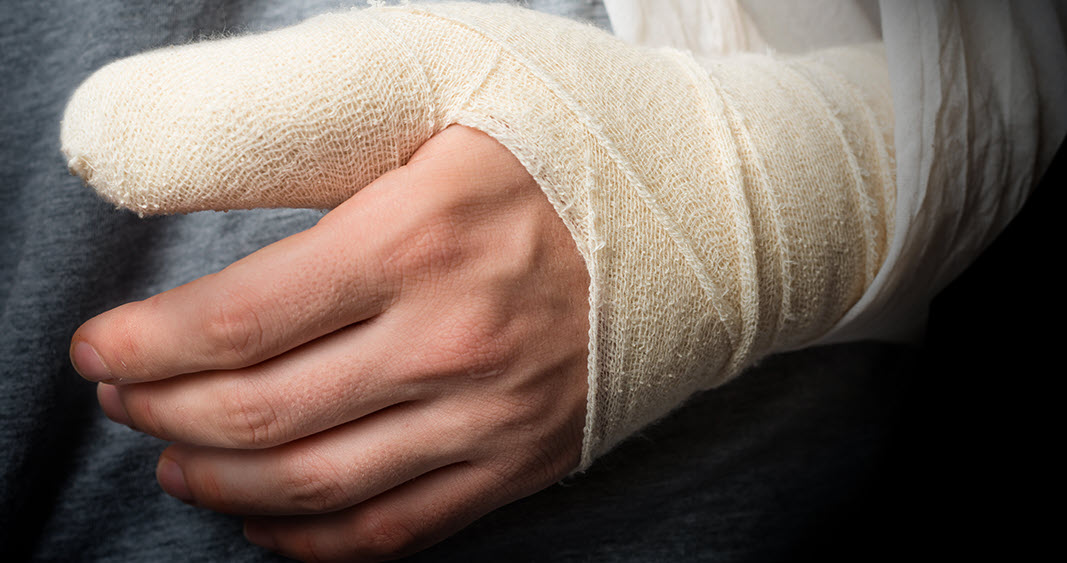
Accident Victims
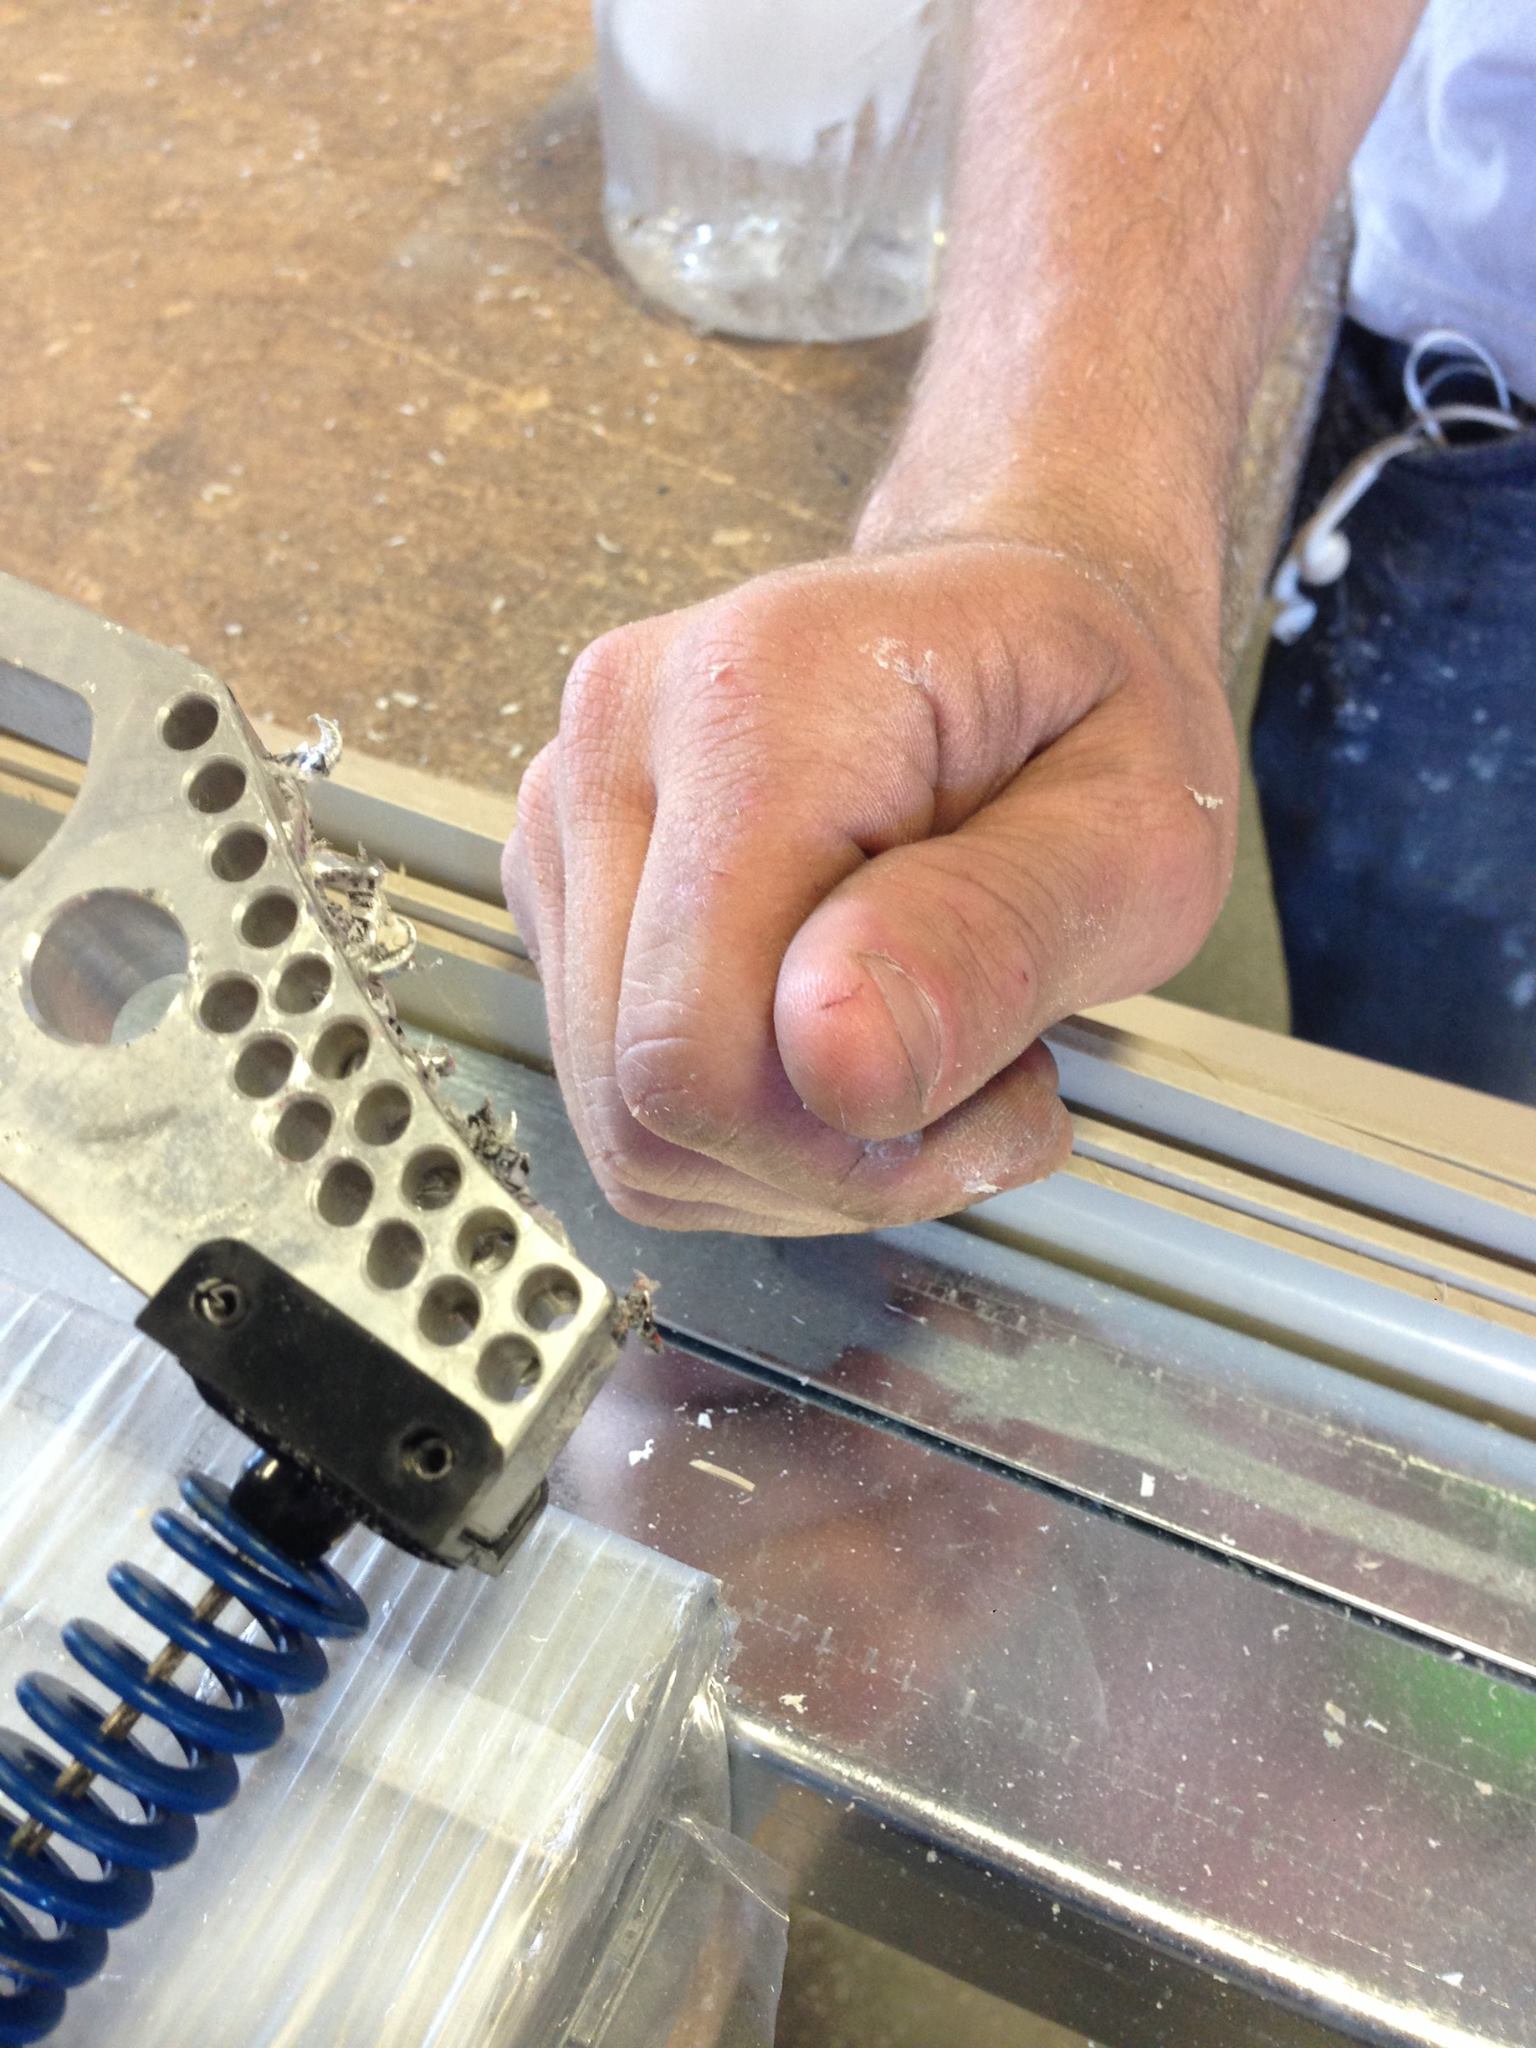
Finger Saves
In the News

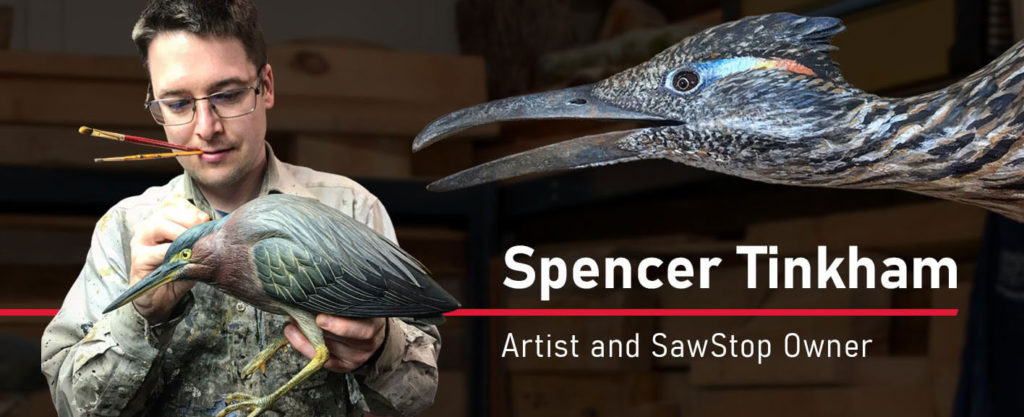
Testimonials
How-Tos
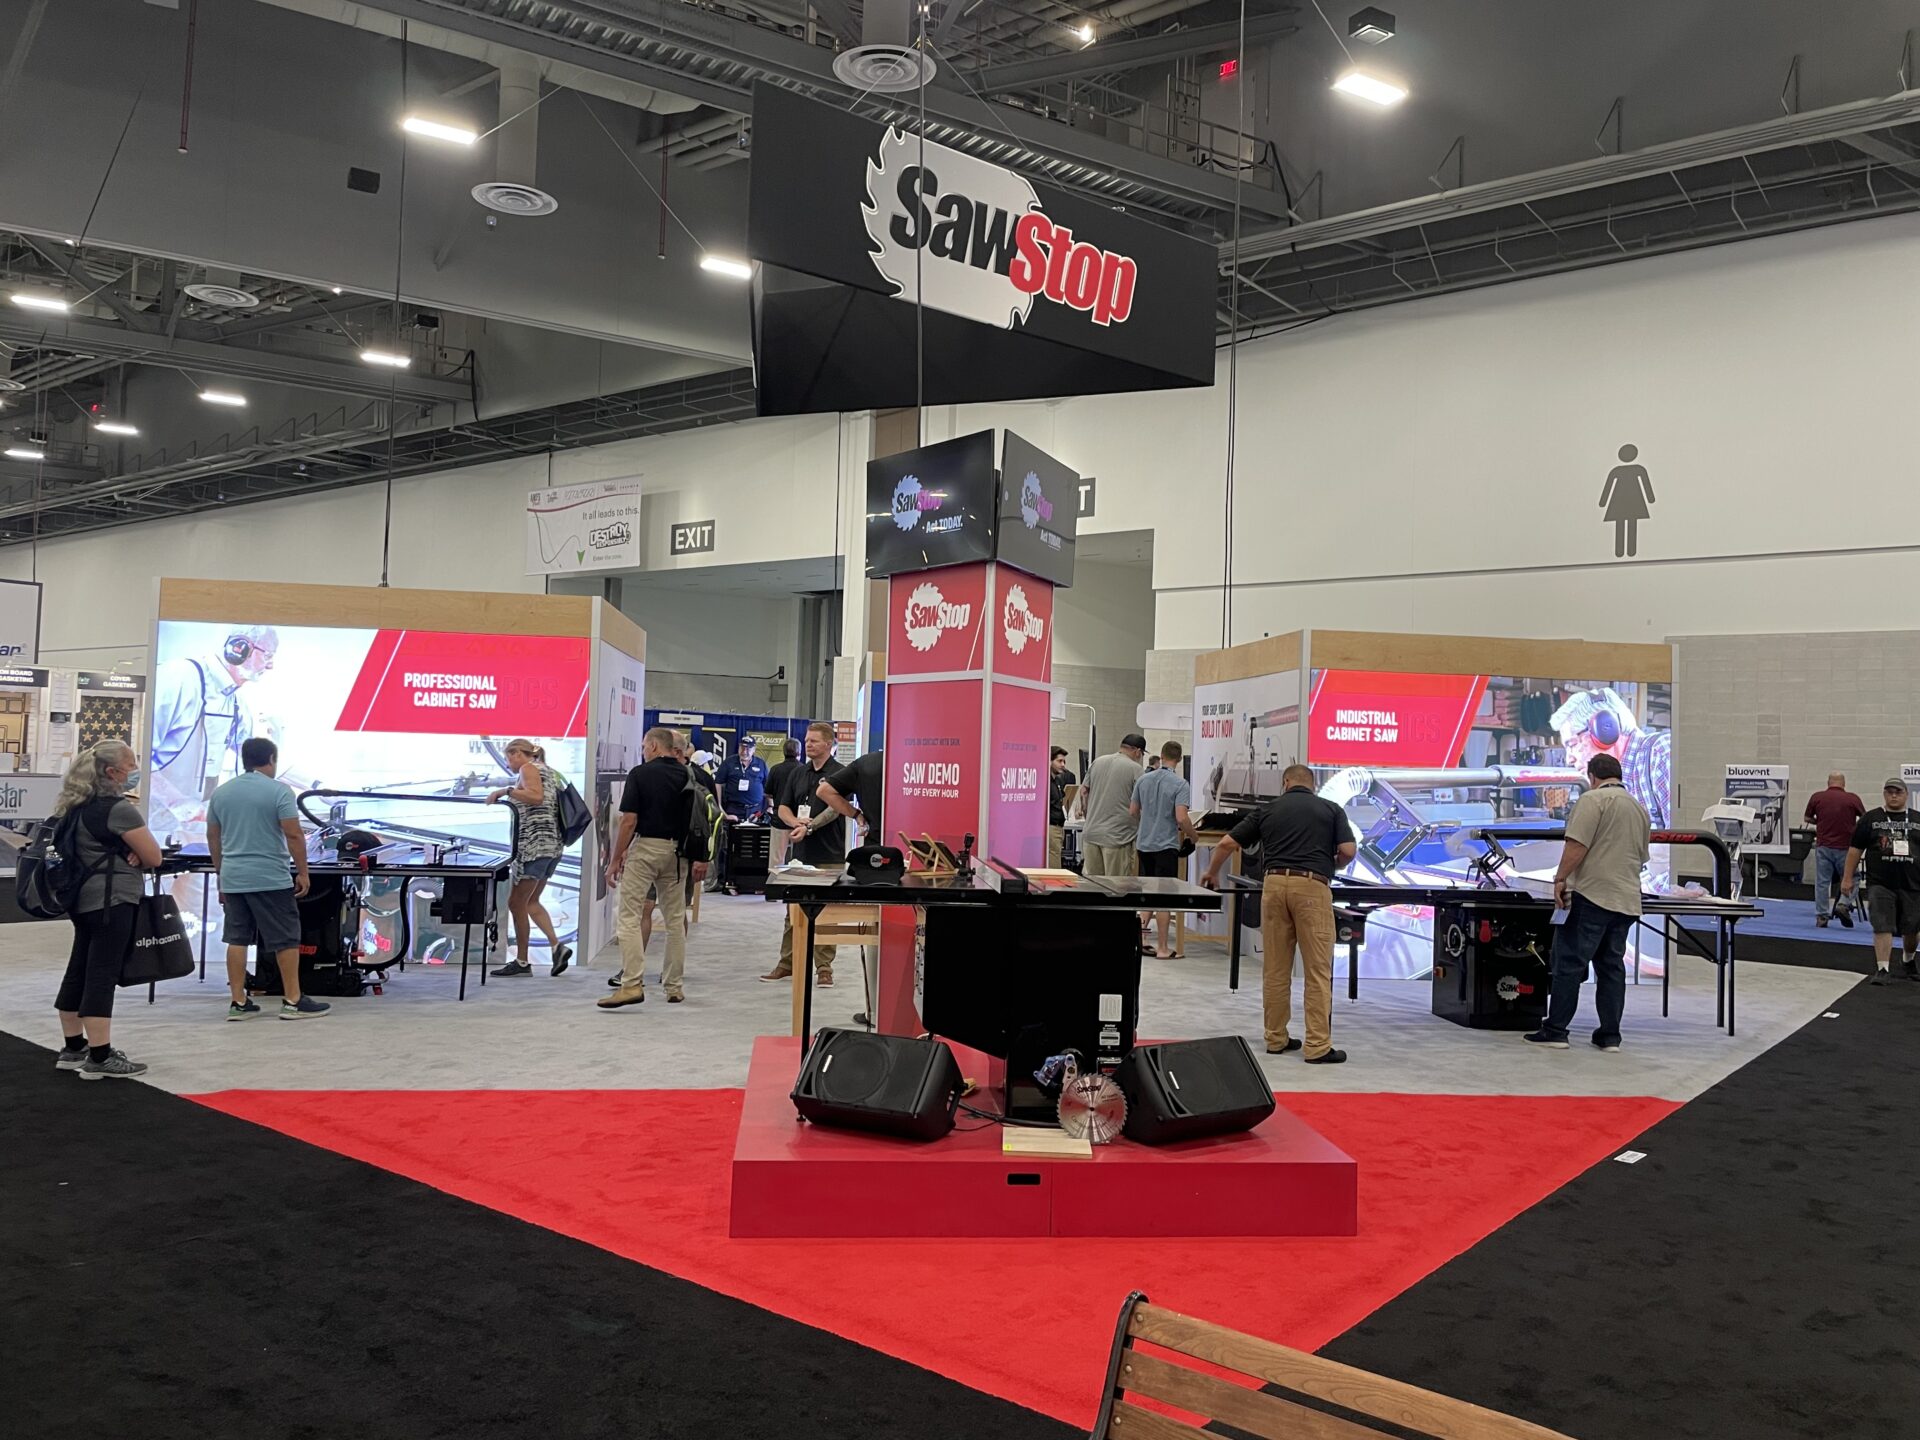
Events and Tradeshows

SawStop School Contest
