Steps to Replace Job Site Saw Switch Box
Service Procedure SP-JSS-190522-001
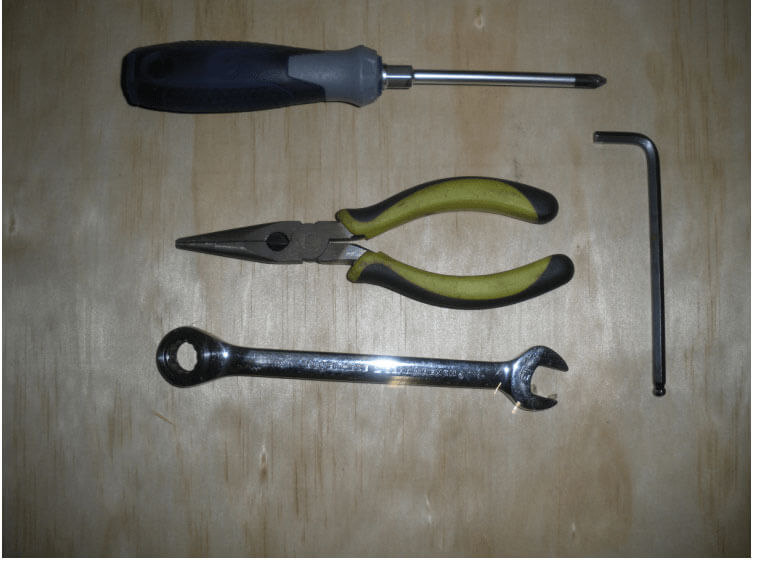
Tools & Supplies Required for This Procedure:
- #2 Phillips Head Screwdriver
- 5mm Allen Wrench
- 13mm Wrench
- Needle Nose Pliers
Procedure Steps:
(Before starting, please read instructions all the way through to ensure complete understanding)
To ensure safety, disconnect all electrical power to the saw.
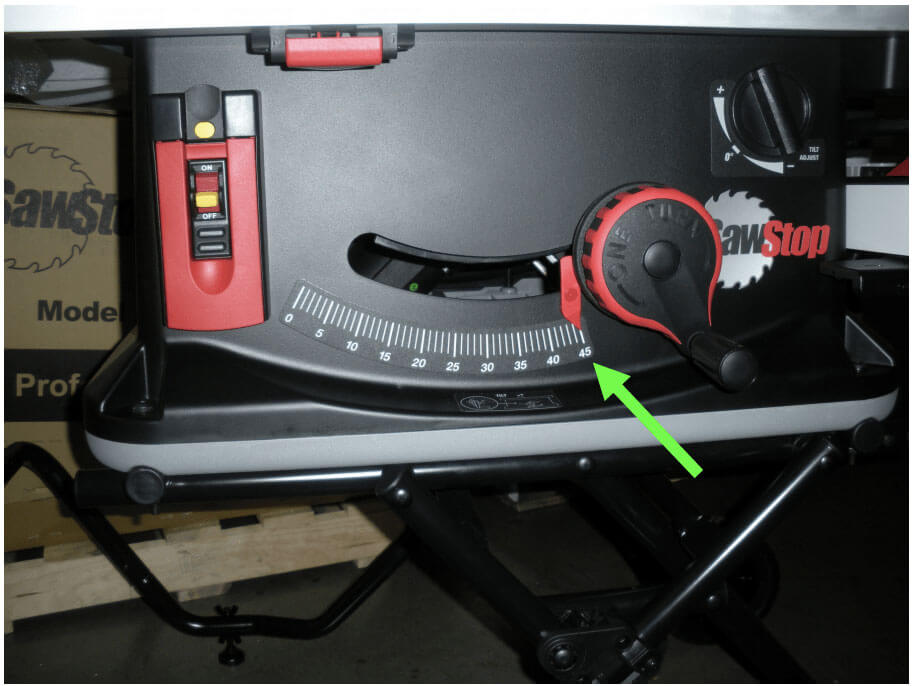
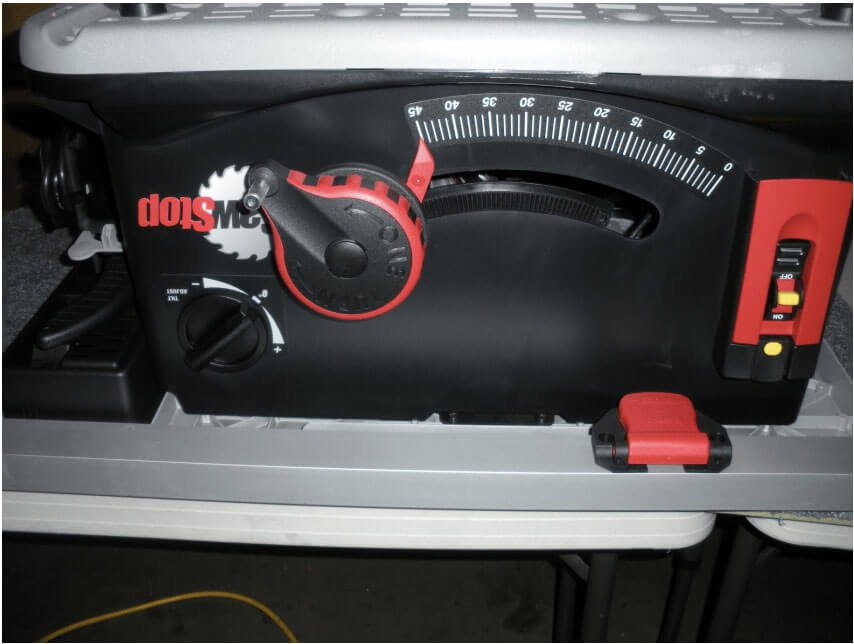
- Tilt the saw to 45 degrees.
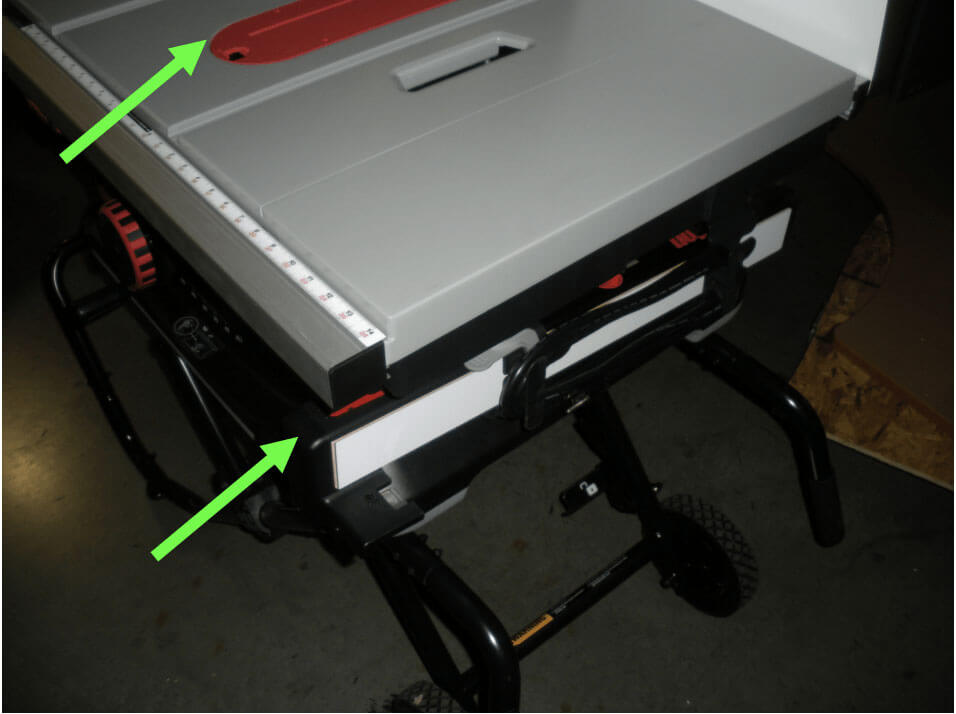
- Lower the blade completely and remove the fence from the saw and set aside.
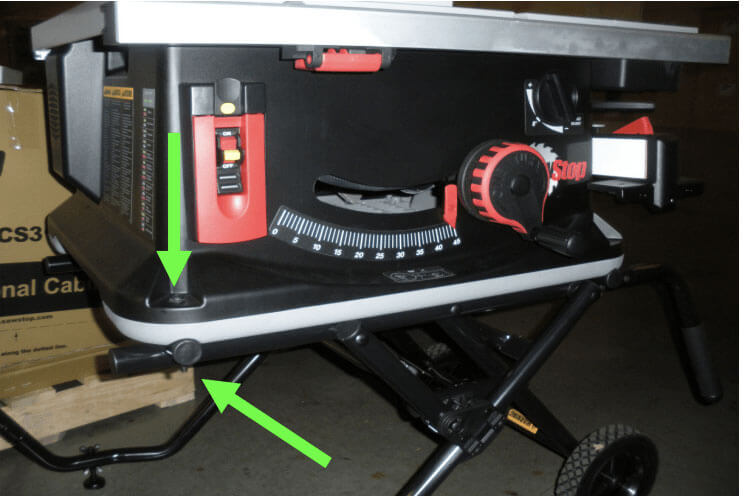
- Use a 5mm Allen wrench and a 13mm wrench to loosen and remove the four bolts that attach the saw to the cart and set aside.
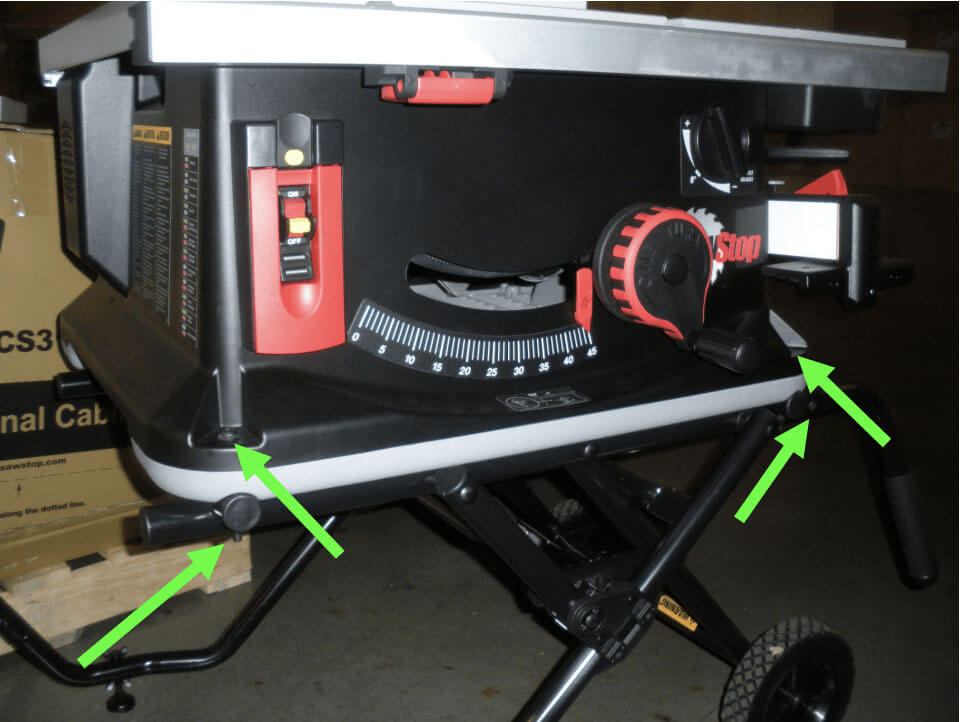
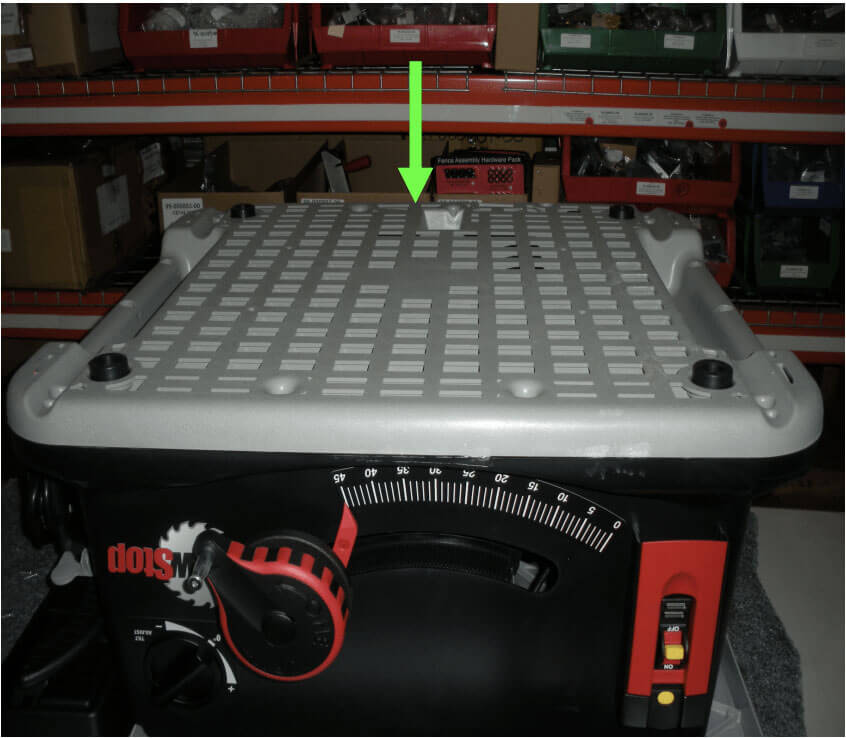
- Lift saw off of the cart and place upside down on a soft sturdy surface.
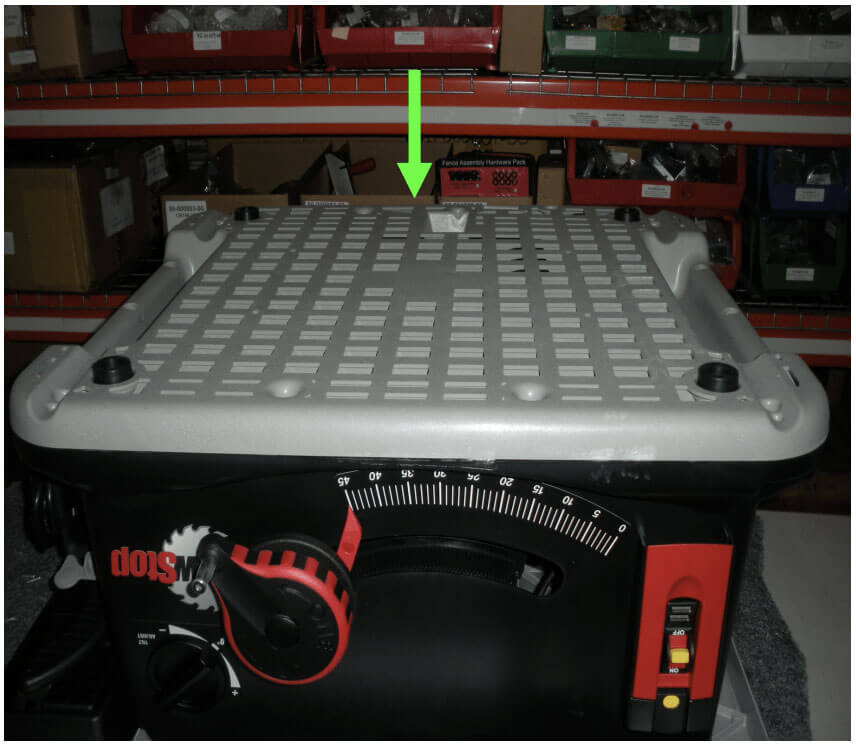
- There are 15 Phillips head screws around the outer edge of the bottom that attach it to the saw body. Starting with the screw to the left of the counter spring indentation at the back and working counter clockwise, remove all 15 and the bottom and set aside. NOTE: When the last screw is removed, the bottom will spring upward a bit.
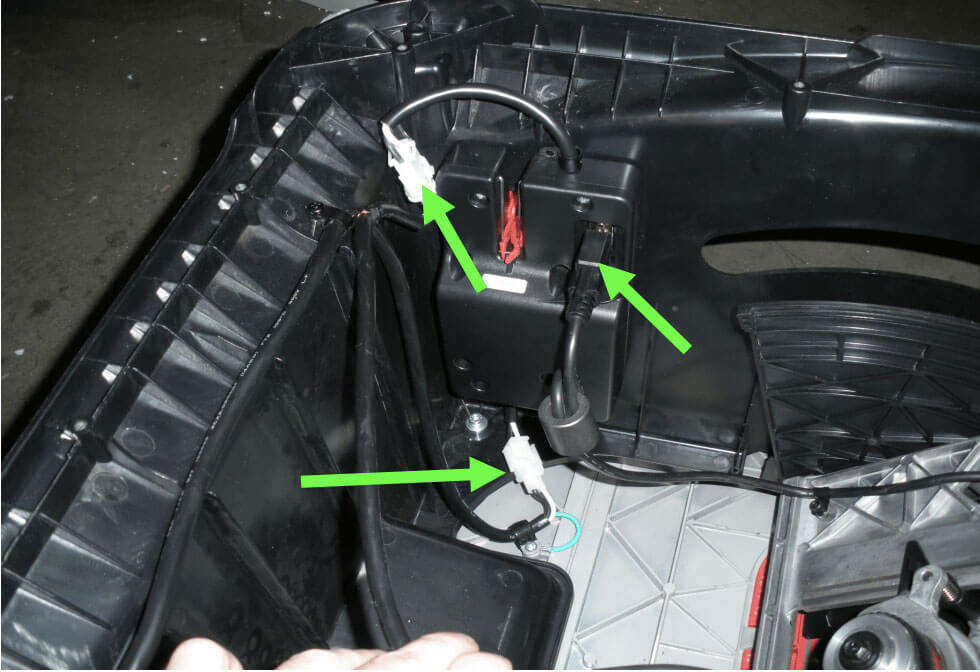
- There are three cables that are plugged into the back of the switch – unplug all three.
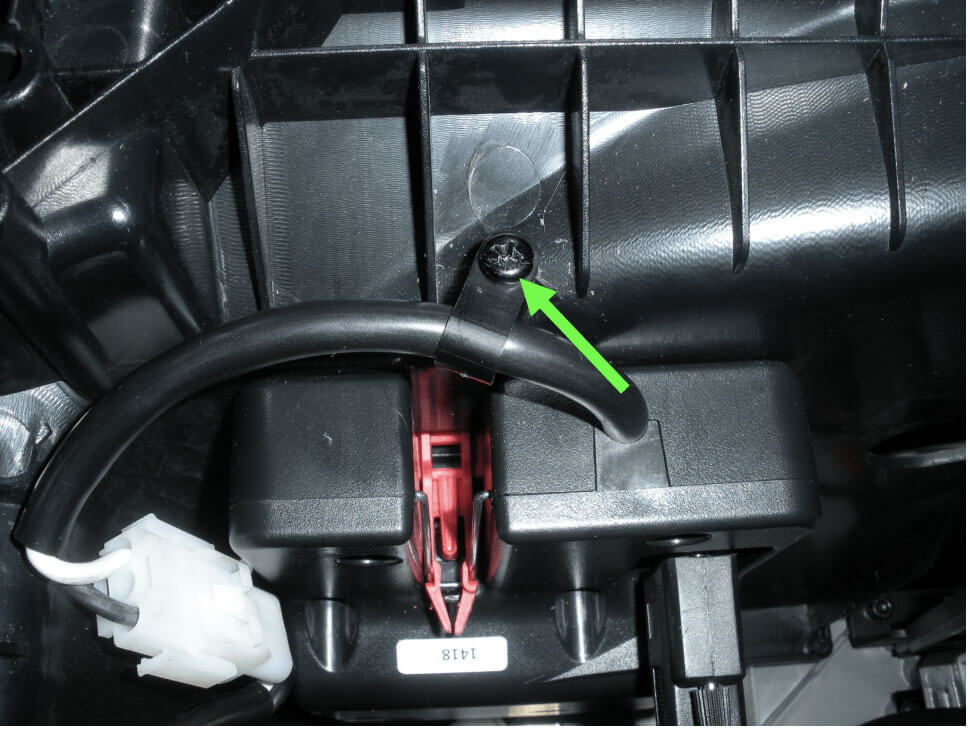
- The top cable is attached to the saw cabinet with a cable clip and Phillip head screw. Remove the screw and clip and set aside.
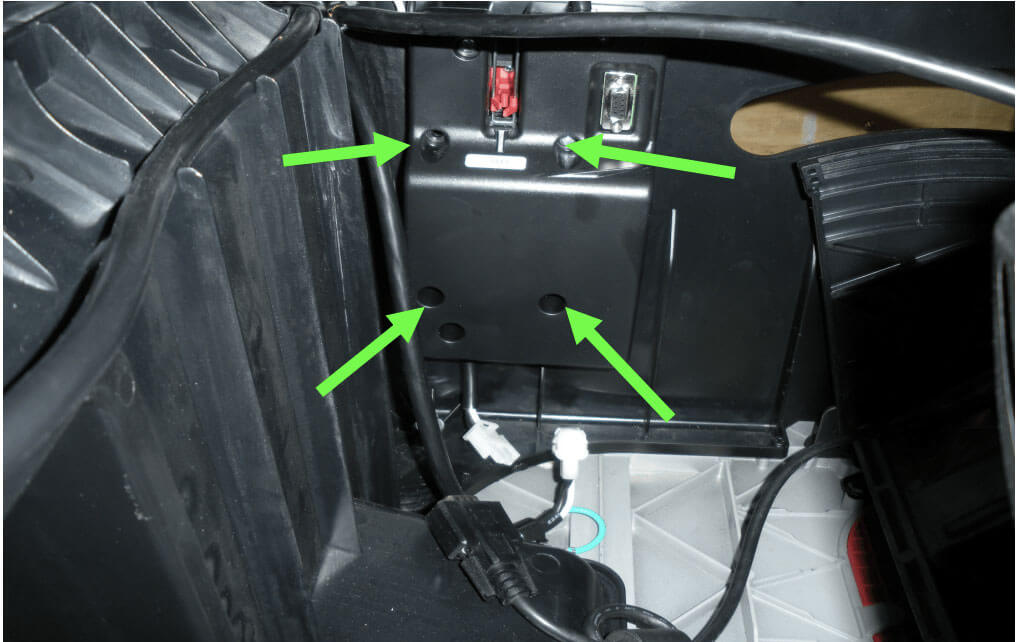
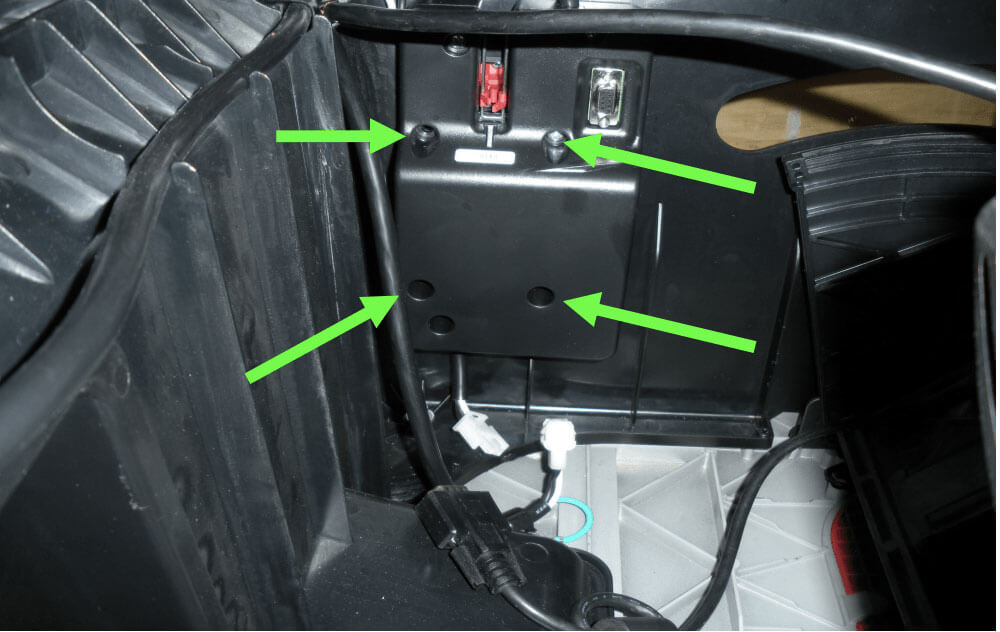
- There are 4 Phillips head screws that attach the switch to the saw. Remove all 4 screws and set aside.
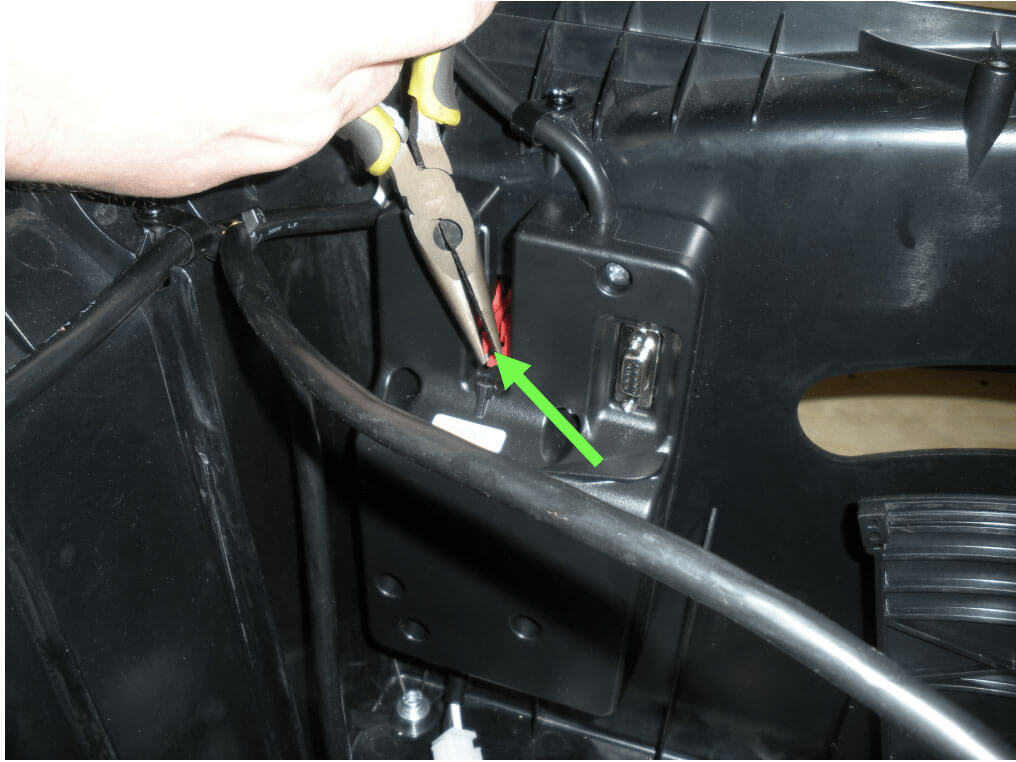
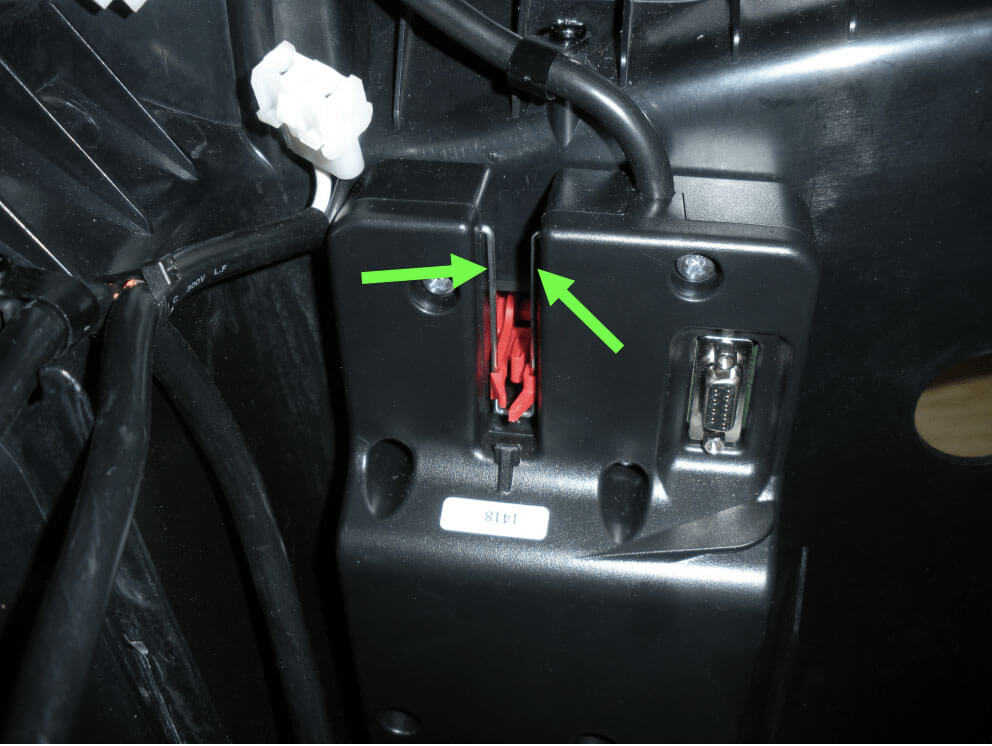
- There are two red plastic tabs that are hooked to a wire loop. Pinch the tabs together with your needle nose pliers and gently pull the box straight towards the motor while twisting the box counter clock wise – the tabs should release and the box can be removed.
- To install the new box, insert the tabs through the wire loop while gently pushing on the wire loop until it clicks/locks into place.
- While holding the box against the saw, screw the 4 Phillips screws back in being sure the box seats correctly. NOTE: If the box is seated correctly, the box will not move once the screws are tight.
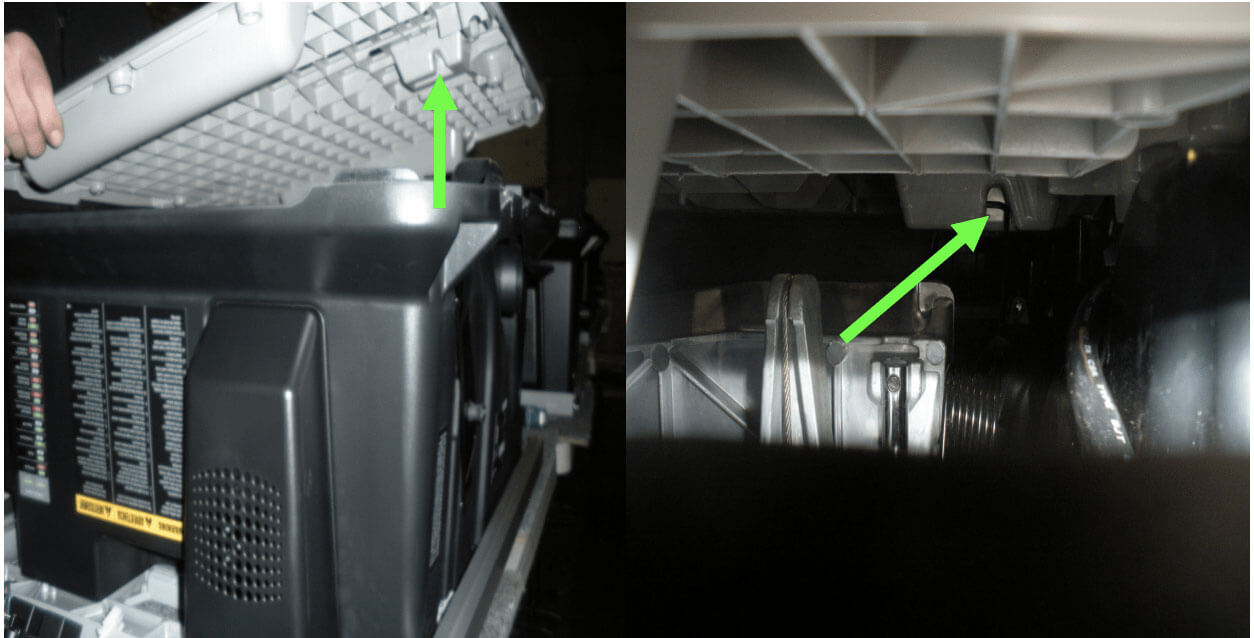
- Tilt the saw back to 90 degrees. Above the motor is the counter balance spring that must be in the up position leaning against the trunnion

- There is a small groove on the bottom of the indentation that the top of the counter balance spring must seat in. You’ll want to “hover” the base over the saw and slowly lower it until the two match up.
- Reinstall the 15 screws starting with the one that is left of the indentation. NOTE: When using a power screw driver, the torque must be set low or you WILL strip them.
- Place the saw back on the cart and reinstall the four 5mm bolts and nuts.
Contact the SawStop Customer Support Center with any questions or suggestions:
Tel: 1 (503) 582-9934
Email: [email protected]