Steps to Replace a SawStop Industrial Series Motor (ICS and CB)
Service Procedure SP-ICS-090610-001
Tools & Supplies Required for This Procedure:
- 19mm combination or socket wrench (2 ea)
- #2 Phillips screwdriver
- SawStop blade wrench or short pry bar
Procedure Steps:
(Before starting, please read instructions all the way through to ensure complete understanding)
Working through the belt access door:
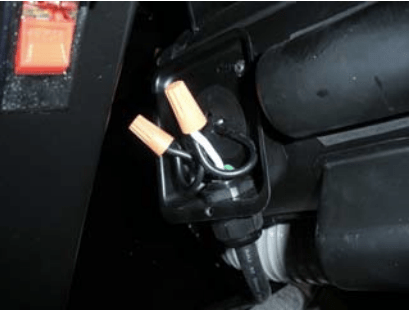
- Remove the motor belt and disconnect the power cable. Raising the motor and tilting to 45° will expose the electrical junction box for easy access.
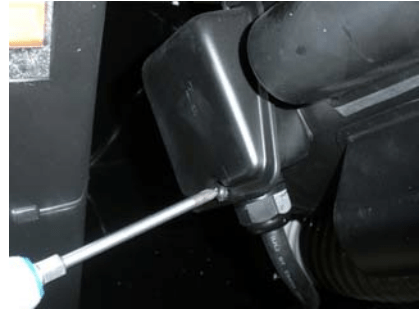
- Once disconnected, return the tilt to 0°.
Working through the motor cover door:
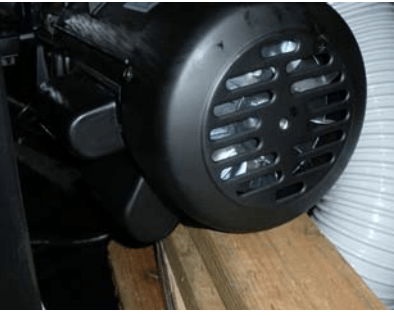
- Put some blocks in the bottom of the cabinet and lower the motor onto them.
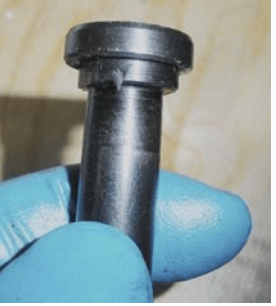
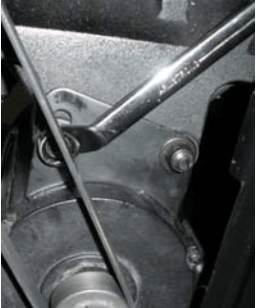
- Loosen and remove the two bolts holding the motor to the bracket. Note that the adjustment bolt has a shoulder that fits into the curved slot to prevent it from turning while you loosen or tighten the nut to allow adjustment of belt tension.

- Raise the elevation mechanism so the motor bracket will clear the motor mounting flanges
- Pull the motor out sideways and set it aside.
- Slide the replacement motor into the cabinet, positioning it so that the elevation mechanism can pick up the bolt holes.
- Insert the mounting bolts. I recommend reversing the bolts so that the nuts come out on the belt access side of the assembly; this will make the belt tension adjustment easier. Tighten the nuts snug and then loosen a quarter turn to allow movement to adjust the belt tension.
Working through the belt access door:
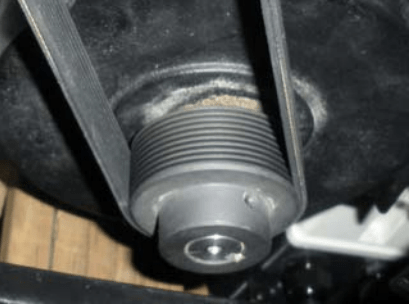
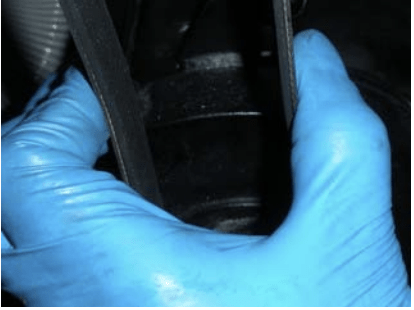
- Reinstall the motor belt on the pulleys, making sure the belt is lined up properly on the pulley grooves.
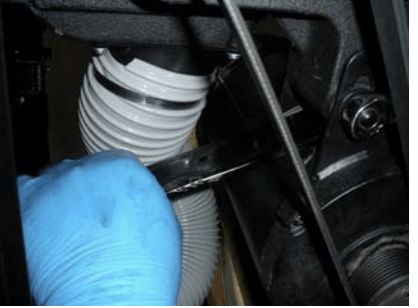
- Insert a pry bar (one of the blade wrenches works well for this) between the motor body and the bracket on the elevation mechanism, on the left side of the motor.
- Push down on the pry bar to increase belt tension. Tighten the nut on the adjustment slot.
The belt is properly tensioned if:
a) squeezing both sides between thumb and forefingers produces no more than ½” belt deflection, and
b) when plucked, the belt produces a note instead of a dead “thud”.
- When satisfied with belt tension, tighten both nuts and remove wrench/pry bar from the motor bracket. Tilt the saw back to 45°.
Working through the motor cover door:
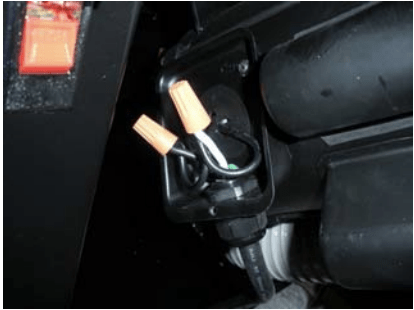
- Reconnect the power cable to the motor leads. Make sure the ground lug is well connected and tight, and that the wire nuts are secure and tight and the wires don’t pull loose.
Questions?
Contact SawStop Customer Technical Support:
Phone# (503) 582-9934
Email: [email protected]