Steps to Install (Type 2) Switch Box Paddle Spring (CB)
Service Procedure SP-CB-190703-02
Tools and Supplies Required for this Procedure:
- #2 Phillips screwdriver
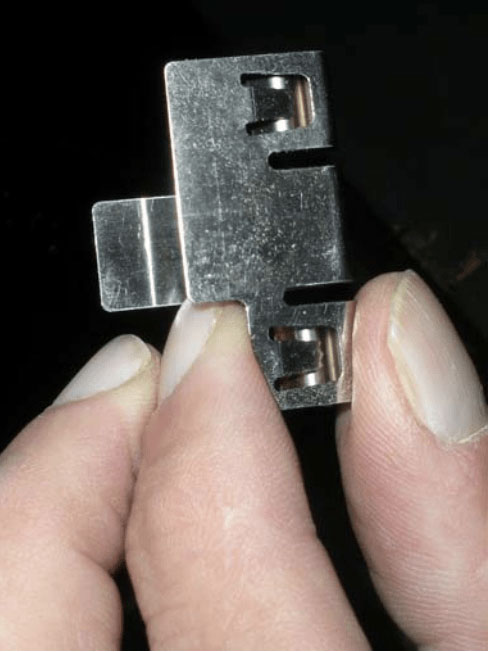
- 1 ea type 2 Switch Box Paddle Spring (SawStop Part Number: 09-001576-00)
Procedure Steps:
(Before starting, please read instructions all the way through to ensure complete understanding)
Note: the photos in this procedure were taken on a switch box that had not yet been installed, for ease of photographing – you do not need to remove the switch box or the paddle from the saw to install the spring clip.
- Disconnect all electrical power to the saw.
- Using the #2 Phillips screwdriver, remove the 7 screws from the left side of the switch box, and pull the left side cover off the switch box. Set it aside, taking care not to lose any screws.
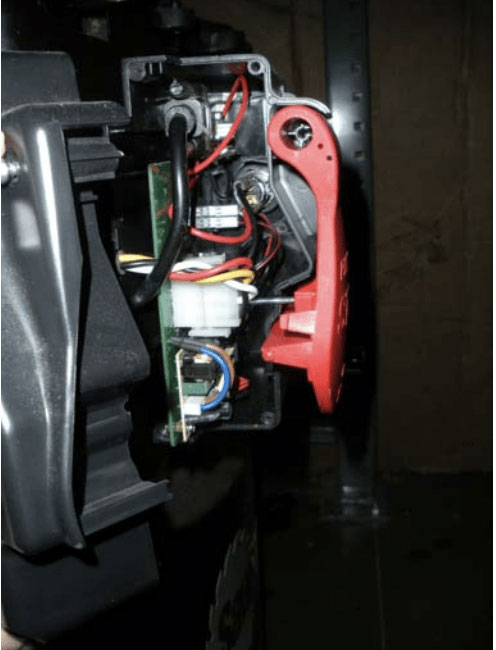
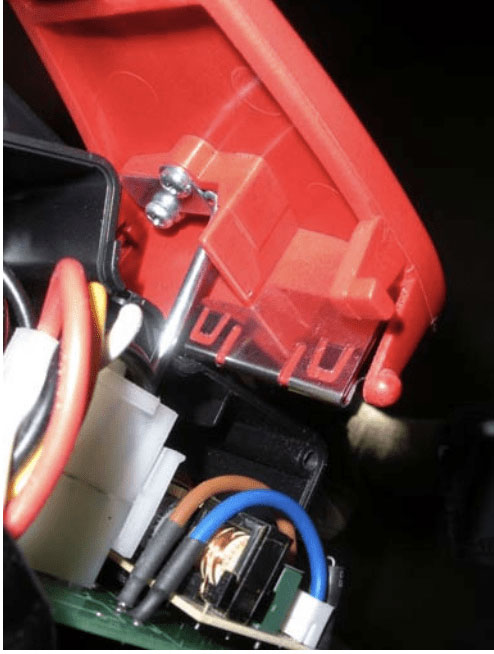
- Pull the paddle switch partially loose from the switch box, exposing the bottom of the switch as shown.
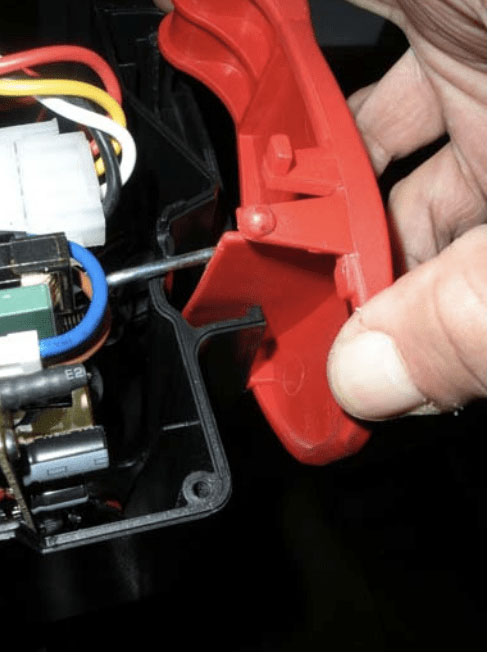
- Install the paddle spring as shown (the spring is keyed to only go on one way.)
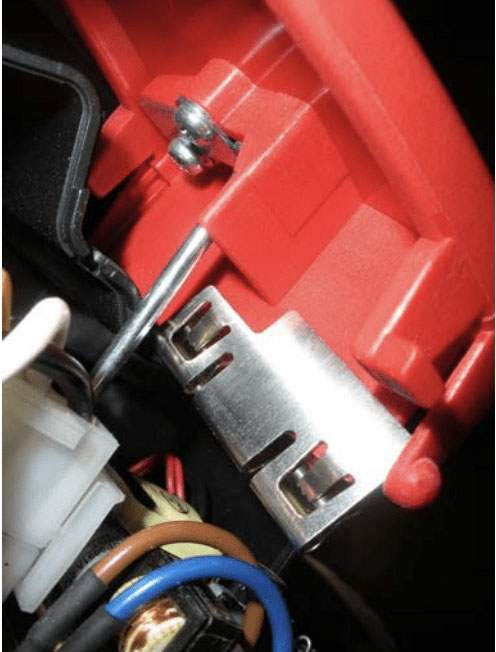
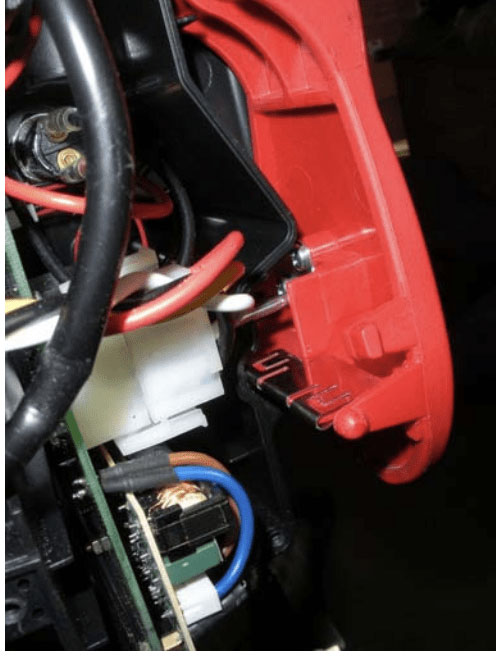
- Put the paddle back in place as shown, and re-attach the cover plate.
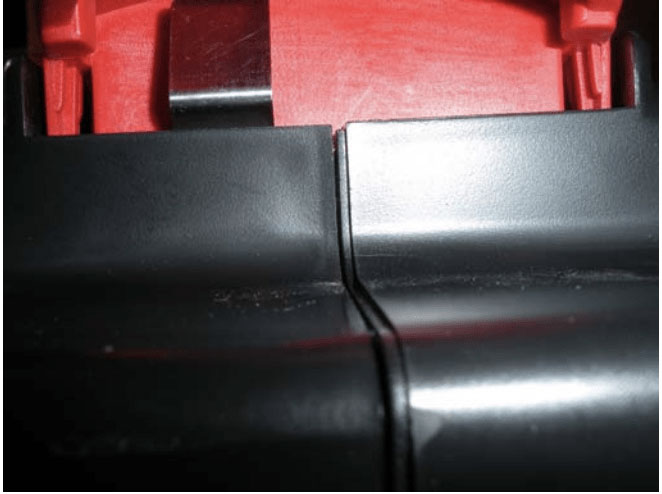
- When it’s pushed back together, the paddle will look like this from below; screw the cover on to close the seam tightly.
- Test to make sure that the paddle switch and the cam are working properly. The paddle should snap open and closed, without binding.
Questions?
Contact the SawStop Customer Support Center with any questions or
suggestions:
Call: (503) 582-9934
Email: [email protected]